

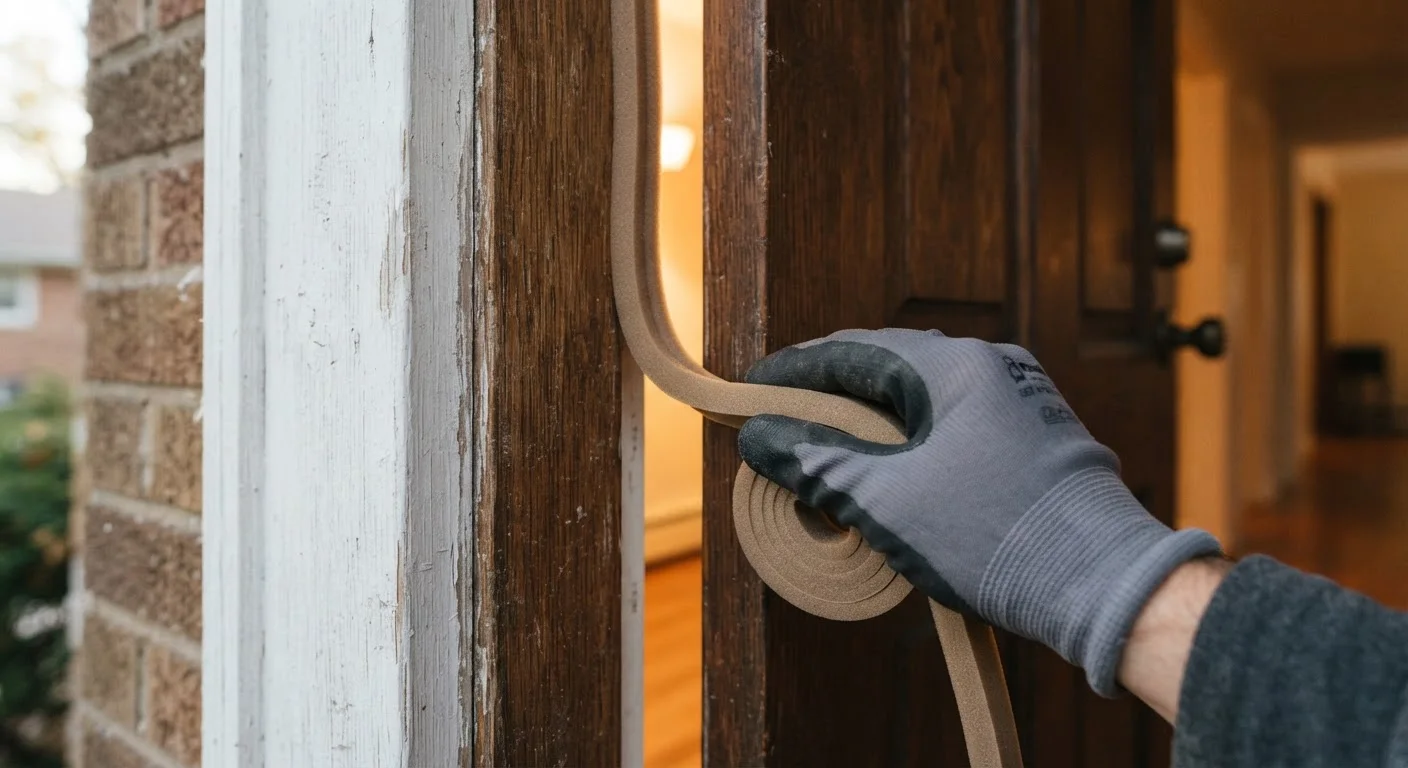
Why Weatherstripping Works — and When to Use It
Weatherstripping seals the movable gap between a door and its frame — the edges that open and close with every use. Unlike caulk, which is designed for stationary cracks, weatherstripping is engineered to compress and flex repeatedly without cracking or losing its shape. When it degrades, exterior doors become one of the largest sources of uncontrolled air exchange in a home.
Common signs that weatherstripping has failed include visible light around the closed door, a whistling sound during windy weather, noticeably cold air near the door in winter, or insects finding their way inside. In most cases, the door itself is perfectly fine — only the seal needs attention.
Do a Candle Test Before You Buy
On a windy day, hold a lit candle or thin strip of tissue paper near the door edges while the door is closed. Flickering or movement pinpoints exactly where air is escaping, so you only replace what is actually failing. This saves time and material.
There are several materials to know:
- Foam tape: Self-adhesive, easy to cut, good for irregular gaps, but less durable on high-traffic doors.
- V-strip (tension seal): A folded vinyl or metal strip that springs open to fill the gap. Very durable and suited to side jambs and the top.
- Door sweeps: Attached to the door bottom; addresses the largest gap where the most heat loss occurs.
- Bulb or compression gasket: A tubular rubber or vinyl profile that presses firmly when the door closes; excellent for uneven surfaces.
Choosing the right type for each location — rather than using one material throughout — produces a noticeably better seal.
Check for Structural Issues First
Weatherstripping cannot fix a warped, sagging, or structurally damaged door frame. Before you begin, inspect the frame for rot, significant gaps wider than half an inch, or a door that no longer hangs square. Those conditions require professional assessment. This guide assumes the frame is structurally sound and the door operates normally.
Tools and Materials You Will Need
This project requires only basic tools, most of which are already found in a typical household. Gather everything before you start so you are not making mid-project trips.
What you will need
Tape measure
Measure the door's top, side jambs, and bottom edge accurately before cutting weatherstripping.
Utility knife or scissors
Cut foam, vinyl, or rubber weatherstripping to precise lengths.
Pry bar or putty knife
Remove old weatherstripping without damaging the door stop or jamb.
Isopropyl alcohol and clean rags
Clean the door stop surface so adhesive-backed strips bond properly.
Hammer and finish nails or screwdriver
Secure nail-on or screw-on weatherstripping where adhesive alone is insufficient.
Door sweep
Seal the gap between the door bottom and the threshold to block drafts and insects.
When purchasing weatherstripping, bring your door measurements with you. Buying slightly more than you think you need is worthwhile — having extra allows you to re-cut if a piece is misaligned.
Avoid Sealing Ventilation Gaps Unintentionally
Some older homes rely on controlled air infiltration around doors for combustion appliances like gas furnaces or water heaters. If your home has older combustion equipment, consult an HVAC professional before aggressively air-sealing to ensure safe combustion airflow is maintained.
Step-by-Step Installation
Follow these steps in order. Rushing through the preparation stages — especially cleaning and measuring — is the most common cause of a seal that fails prematurely.
Inspect and remove old weatherstripping
Open the door and examine the existing weatherstripping along the top and both side jambs. Look for cracking, compression set (the material no longer springs back), or sections that have pulled away from the surface. Press the door closed and check whether light is visible around the edges — visible light means the seal has failed.
Use a putty knife or pry bar to gently lift and peel away old material. For nail-on strips, work the putty knife under the edge and pull carefully to avoid splintering the door stop. Discard all removed material before measuring.
Clean the door stop and jamb surfaces
Wipe down the entire door stop — the narrow strip the door presses against — with isopropyl alcohol on a clean rag. Remove all dust, old adhesive residue, paint chips, and grease. Adhesive-backed weatherstripping requires a clean, dry surface to bond reliably; skipping this step is the most common reason new strips peel off within weeks.
Allow the surface to dry completely before proceeding, typically five to ten minutes.
Measure and cut the weatherstripping
Measure the full length of each section: the top of the door frame (head jamb) and both side jambs from the top corner down to the threshold. Write each measurement down. Add about an eighth of an inch to side jamb pieces so they compress slightly against the threshold when installed — this closes the corner gap.
Cut the weatherstripping with a sharp utility knife or scissors using a straight edge as a guide. A clean, square cut ensures the pieces meet tightly at the corners without bunching.
Install the top and side weatherstripping
Start with the head jamb (top). Peel back a few inches of the adhesive backing, align the strip flush with the door stop face, then press firmly as you peel and apply the rest of the length. For nail-on V-seal or metal tension strips, position the strip and tap finish nails every four to six inches.
Repeat for both side jambs. The key is positioning: the weatherstripping should contact the door face with light compression when the door is closed — enough to form a seal without making the door hard to latch. Close the door repeatedly to confirm fit as you work.
Install the door sweep on the bottom
The bottom of the door is responsible for a significant portion of air infiltration. A door sweep attaches to the interior face of the door bottom and drags lightly against the threshold when the door closes.
Measure the door width and cut the sweep to length with a hacksaw if it is metal-backed, or scissors for vinyl-only versions. Hold the sweep against the door bottom so it just contacts the threshold when the door is closed — not so low that it drags heavily and causes wear. Mark the screw holes, drill pilot holes if needed, and drive the mounting screws snugly.
Test the seal and make adjustments
Close and latch the door, then run your hand slowly around all four edges on the interior side. You should feel no detectable airflow. On a windy day, repeat the candle or tissue-paper test to confirm. If a draft remains in one spot, press the weatherstripping more firmly against the door stop in that area or add a second layer of foam tape to build up a thicker seal.
For a thorough approach to other air-leakage points around the home, consider pairing this project with a full caulking audit of windows and trim joints.
The content on this site is for informational purposes only and is not a substitute for professional advice. Always consult a qualified professional for guidance specific to your situation.