

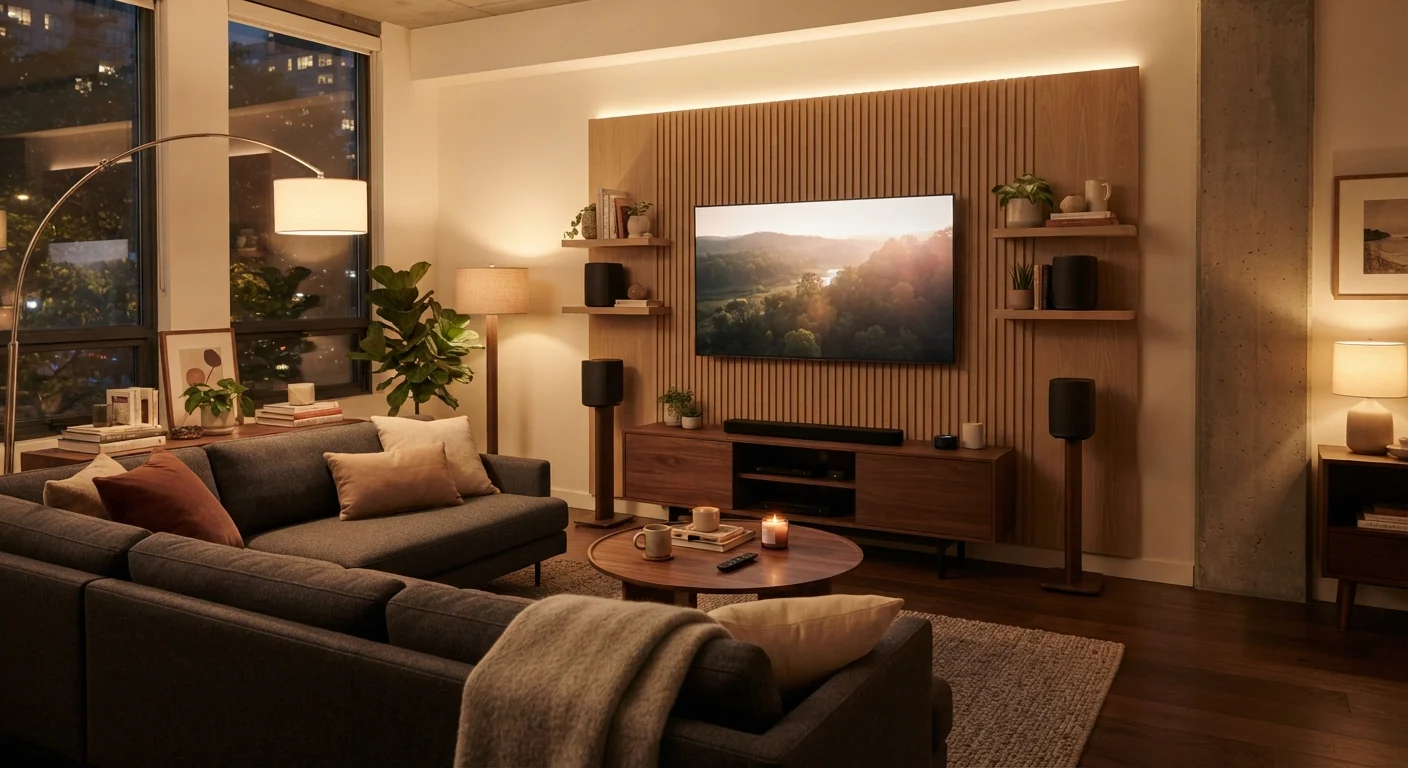
Why Wall-Free Surround Sound Works
The traditional image of surround sound involves an installer drilling through walls and fishing speaker wire through ceilings. That approach still exists, but it's no longer the only option — or even the most practical one for most homes. Wireless audio technology has matured to the point where dedicated surround speakers can communicate with a central hub reliably across a typical living room without a single wall penetration.
The acoustic result isn't identical to a hard-wired custom installation, but for the vast majority of viewers watching movies or streaming content in a standard living room, the difference is negligible. What matters most is speaker placement and calibration — both of which are fully achievable without construction. Understanding what each component contributes to your overall sound helps you make smarter decisions; our explainer on home theater audio covers the fundamentals clearly.
What you will need
What You'll Need
Before you start, gather the physical items and double-check your TV's connectivity. The equipment list is shorter than most people expect.
Tape measure
Measure room dimensions and speaker-to-listening-position distances for accurate placement.
Painter's tape
Mark proposed speaker positions on floors and shelves before committing to placement.
HDMI cable (High Speed, with Ethernet)
Connect your AV receiver or soundbar to your TV via HDMI ARC or eARC.
Cable management clips or raceways
Route power cables along baseboards or walls neatly without drilling.
Speaker stands or bookshelf mounts
Position surround speakers at the correct ear-level height without wall installation.
Choose your system type
Decide between two wall-free approaches before purchasing anything:
- Wireless surround soundbar system: A single soundbar handles front audio; compact wireless satellite speakers handle the rear. Minimal cabling, easiest setup.
- AV receiver with wireless rear speakers: A traditional receiver drives front speakers wired to it, while the rear speakers connect wirelessly via a dedicated transmitter module. More flexibility, slightly more complex.
For smaller rooms or renters, the wireless soundbar route is typically simpler. For dedicated home theater rooms, an AV receiver gives you more control. See our guide to how home theater audio actually works to understand what each component contributes before you commit.
Map your room layout
Sketch the room on paper and mark where you sit, where the TV lives, and where outlets are located. Standard 5.1 surround places the two rear (surround) speakers to the left and right of your primary seating position, ideally slightly behind and at ear level when seated. Front left, center, and front right speakers cluster near the TV.
Use painter's tape to mark the floor where speaker stands would go. Confirm that power cables from those positions can run along baseboards to an outlet — this avoids the only real wiring you'll need to manage.
Connect your soundbar or receiver to the TV
Use a single HDMI cable to connect your soundbar or receiver to the TV's HDMI ARC (Audio Return Channel) or eARC port — these ports carry audio both to and from the TV over one cable. Then go into your TV's audio settings and set the audio output to HDMI ARC or External Speaker. Disable the TV's built-in speakers.
If your TV lacks HDMI ARC, use an optical (Toslink) cable instead — performance is slightly reduced, but it still works for most surround formats.
Pair and position the wireless rear speakers
Follow your system's pairing instructions — typically holding a button on each satellite speaker until it connects to the transmitter or soundbar. Once paired, place the speakers on stands at roughly ear height when seated (about 3–4 feet from the floor). Angle them slightly inward toward the seating area.
Route power cables from each speaker along baseboards using adhesive cable clips or a slim raceway to keep them tidy and trip-hazard free.
Run room calibration
Most AV receivers include an automatic calibration microphone (commonly called something like YPAO or MCACC depending on the brand). Soundbar systems often have a simpler version built into their app. Place the microphone at your main listening seat, run the calibration routine, and let the system measure your room's acoustics. It will automatically adjust speaker levels, distances, and equalization.
If your system has no calibration tool, manually set each speaker's distance from the listening position in the audio menu — this timing adjustment alone dramatically improves the surround effect.
Test and fine-tune
Play a test tone (usually found in the audio settings menu) to verify each speaker fires in the correct channel. Then watch a scene with active surround audio — an action sequence or nature documentary works well. If rear speakers sound too loud or too quiet relative to the front, trim individual speaker levels in the audio menu by 1–2 dB at a time. Small adjustments have a big impact.
Once your TV and audio are dialed in, your room setup is complete. If you haven't yet mounted your television, our room-by-room TV mounting checklist walks through the wall-mounting process safely.
Troubleshooting Common Issues
Even a straightforward setup can produce a few hiccups. Here are the most common ones and how to resolve them:
- No sound from the soundbar after connecting via HDMI: Confirm you used the ARC-labeled HDMI port on the TV, and that the TV's audio output setting is changed from internal speakers to HDMI ARC or external audio.
- Rear speakers cut out intermittently: Move them closer to the transmitter or soundbar, or away from other wireless devices. Thick concrete or brick walls between the hub and the satellite speakers can also cause dropout.
- Surround sound plays as stereo only: Check that the content source (streaming app, Blu-ray player, or cable box) is outputting a surround format, and that your soundbar or receiver has the appropriate decoding mode enabled (Dolby Digital, DTS, etc.).
- Audio and video are out of sync: Use the lip-sync or audio delay setting in your TV or receiver's menu to nudge the audio forward or back by small millisecond increments until they align.
Dial In the Subwoofer Separately
If your system includes a subwoofer, set its volume control (usually a dial on the back) to the midpoint, then adjust from there using the receiver or soundbar menu. Subwoofers are the most room-dependent component — placement near a corner typically amplifies bass, while placement along an open wall reduces it. Experiment with position before locking it in.
Avoid Daisy-Chaining Power Strips
Surround sound components draw a noticeable combined load, especially receivers with amplifier stages. Plugging multiple power strips into one another is a fire risk and violates most electrical codes. Use a single quality surge-protected power strip rated for the combined wattage of your components, and plug it directly into a wall outlet.
The content on this site is for informational purposes only and is not a substitute for professional advice. Always consult a qualified professional for guidance specific to your situation.