

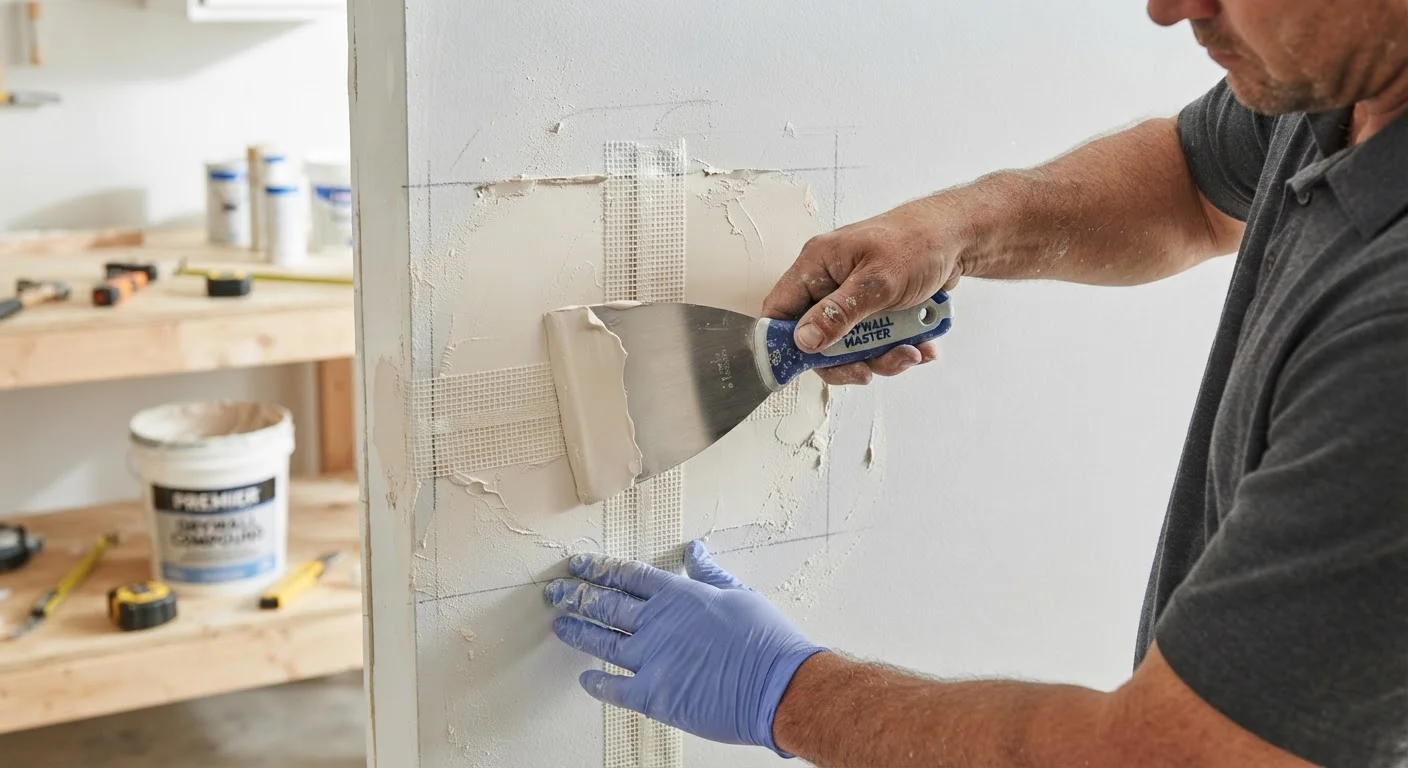
Why Drywall Patches Fail (And How to Stop It Happening)
A patched wall that looks flawless for a few weeks — then slowly cracks, sags, or pops off — is one of the most frustrating DIY outcomes. The good news: patch failures almost always trace back to one of a handful of predictable mistakes, not bad luck. Understanding why repairs fail is the fastest path to making ones that last.
Drywall is a gypsum plaster core sandwiched between two layers of paper. That paper facing is what gives the panel its structural integrity. When you cut or punch through it, you're not just creating a hole — you're removing the structural tension the paper provides. Any repair has to restore that tension, not just fill the void.
The sections below bust the most persistent myths about drywall patching, so you can skip the shortcuts that always backfire.
Myth
You can fill any hole — regardless of size — with spackling compound and call it done.
Fact
Spackling is only appropriate for holes smaller than about half an inch. Larger holes need structural backing and joint compound.
Spackling compound shrinks noticeably as it dries, and it has very little tensile strength. On a nail hole, that barely matters. On a two-inch puncture, the compound will crack, crumble inward, or simply fall out once the slight movement from seasonal humidity changes stresses it. Joint compound, applied over a proper substrate such as mesh or paper tape, bonds to the surrounding paper facing and distributes stress across a wider area.
Myth
One thick coat of joint compound is faster and just as effective as multiple thin coats.
Fact
Thick coats crack as they dry because the surface skins over while the interior is still wet and shrinking.
Joint compound is roughly 50% water by weight. As that water evaporates, the material contracts. A thin coat — no more than about ⅛ inch — dries consistently from front to back, leaving a flat, stable surface. A thick coat dries from the outside in, creating internal tension that results in hairline cracks and a sunken center. Three thin coats, each feathered out slightly wider, produce a far smoother, more durable result than one heavy application.
Myth
Mesh tape is always better than paper tape because it's easier to embed.
Fact
Paper tape is stronger for flat seams; mesh tape is appropriate for small patches but can crack over larger areas without added support.
Fiberglass mesh tape is self-adhesive and easy to position, which makes it popular with beginners. However, it is less crack-resistant than paper tape on long flat seams because it doesn't bond as tightly to the compound and has some flex. For patches larger than about three inches, or for any seam that may experience slight wall movement, paper tape embedded in a thin base coat of compound is the more durable choice. Reserve mesh tape for smaller repairs where its convenience genuinely outweighs that trade-off.
Myth
As long as the patch is painted over, you don't need to prime it first.
Fact
Unpainted joint compound is highly porous and absorbs paint unevenly, leaving a visible dull spot called 'flashing' even after multiple paint coats.
Joint compound has an open, chalky surface texture that soaks up the binders in latex paint before the pigment can lay flat. The result is a patch that looks slightly different in sheen from the surrounding wall — a phenomenon called flashing — which is especially obvious under raking light. A single coat of drywall-specific primer (or a PVA primer) seals the compound's pores so it accepts topcoat paint at the same rate as the existing wall surface. This step takes minutes and prevents a finish that looks worse than the original hole.
Myth
You can skip a backer board for holes larger than six inches if you use enough tape and compound.
Fact
Without solid backing, large patches have no rigid support and will flex, crack, and eventually separate from the wall.
Drywall compound is not a structural adhesive. On a large hole, compound and tape alone create a thin membrane with nothing behind it. Normal household vibration — doors closing, footsteps, HVAC cycling — is enough to flex that membrane until the bond fails. A proper backer (either wood blocking secured between studs or a purpose-made metal repair clip) gives the new patch piece a firm anchor, making the repair as stable as the original wall installation.
Matching the Method to the Hole
The single most important rule in drywall repair is this: hole size dictates method. Using a light spackling paste on a four-inch hole, or over-engineering a nail pop with a California patch, wastes time and materials.
½"
Max hole size suitable for spackling alone
Industry guidance from drywall finishing trades consistently draws this line; beyond it, structural backing and joint compound are needed.
3 coats
Minimum compound coats for a smooth, lasting finish
Professional drywall finishers typically apply a base coat, a fill coat, and a finish coat — each feathered wider than the last.
- Nail holes and small dents (under ½ inch): A lightweight spackling compound applied with a finger or putty knife, sanded flush once dry, is genuinely sufficient here.
- Small holes (½ inch to 3 inches): Self-adhesive mesh patches backed by joint compound work well. Apply compound in two to three thin coats, feathering each coat wider than the last.
- Medium holes (3 to 6 inches): A California patch — where you score and fold the surrounding drywall paper to create a natural tape layer — or a purpose-made drywall repair clip gives you a solid substrate. Skip the mesh-only approach at this size; it flexes too much.
- Large holes (over 6 inches): Cut the damaged area back to the nearest studs or add a backer board between studs, install a new drywall piece, tape all seams with paper tape, and finish with at least three coats of joint compound.
Not sure which sealant tasks to tackle alongside a wall repair? Our weekend caulking audit guide walks through gaps and drafts you might address at the same time.
Check for Wiring and Pipes Before Cutting
Before cutting into drywall to install backer boards or to enlarge a hole for a clean patch, use an electronic stud finder with AC wire detection, and be aware of common plumbing and wiring routes. Cutting into a live wire or supply pipe is a serious safety hazard. If you have any doubt about what's behind the wall, consult a licensed electrician or plumber before proceeding.
Once your final coat is dry, sand with 120-grit paper in gentle circular motions, wipe the dust with a tack cloth, and apply a coat of drywall primer before painting. Skipping primer is what causes the ghostly patch outline that telegraphs through even two coats of wall paint.
The content on this site is for informational purposes only and is not a substitute for professional advice. Always consult a qualified professional for guidance specific to your situation.