

Summary
22 items · 1–3 hours depending on home size
Why a Caulking Audit Is Worth Your Weekend
Caulk is one of the hardest-working — and most overlooked — materials in your home. Those thin beads of sealant around your tub, windows, and exterior door frames quietly prevent moisture from seeping into wall cavities, block cold drafts from raising your energy bills, and keep pests from finding easy entry points. The problem is that caulk degrades. Heat, humidity, settling, and age all cause it to crack, shrink, or pull away from surfaces, sometimes in ways that are easy to miss during everyday life.
A dedicated audit — walking through your home systematically, zone by zone — lets you catch small failures before they become expensive repairs. Water that sneaks behind a tub surround for even a few months can reach the subfloor. A gap around a window frame in a cold climate is essentially a hole in your insulation. Neither problem announces itself loudly; both get worse quietly.
This checklist is organized by area so you can move efficiently from room to room. Pair it with our guide on weatherstripping exterior doors for a complete draft-sealing weekend.
Caulk removal tool
Scores and lifts old caulk cleanly without damaging surfaces — available in plastic (for tubs and tile) or metal (for tougher exterior joints).
Bright flashlight or work light
Illuminates corners, sill edges, and interior trim joints where failing caulk is easy to miss in normal lighting.
Caulk gun
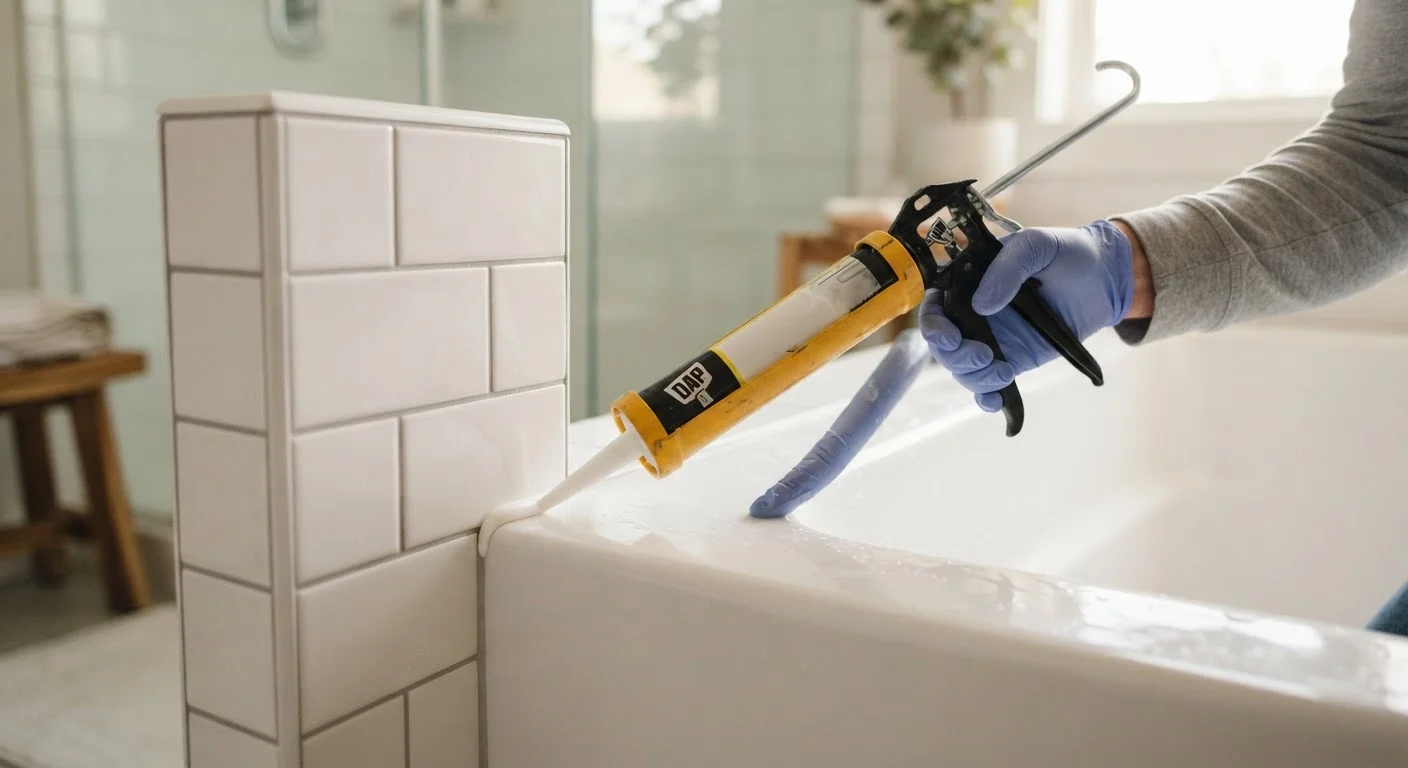
Provides consistent pressure to apply an even bead from a standard-sized caulk tube.
Silicone caulk (mildew-resistant)
The appropriate product for wet-area joints in bathrooms and kitchens where flexibility and mold resistance are essential.
Paintable latex or acrylic-latex caulk
Suited for interior trim, window casings, and any joint that will be painted over after sealing.
Exterior-grade siliconized latex caulk
Designed to handle outdoor temperature swings around window frames, door trim, and siding penetrations.
Mildew-removing cleaner
Cleans and disinfects surfaces in wet areas before new caulk is applied, ensuring proper adhesion.
Painter's tape
Masks adjoining surfaces to keep caulk lines straight and reduce cleanup time, especially along tub edges.
How to Spot Failing Caulk: What to Look For
Before you walk through the checklist, train your eye on the four warning signs that caulk needs attention:
- Cracking or crumbling: Surface cracks mean the caulk has dried out and lost flexibility. It will no longer compress and expand with normal movement.
- Pulling away from the surface: Gaps between the caulk bead and the adjacent material mean the bond has broken. Air and water can travel behind the caulk even if the bead still looks intact.
- Discoloration or mold growth: Dark staining in or beneath the caulk in wet areas signals moisture intrusion. This caulk must come out completely before new material goes down.
- Soft or spongy texture: Healthy cured caulk is firm but slightly flexible. If it feels soft, mushy, or compresses easily, it has absorbed moisture and failed.
Don't Ignore Mold Behind Caulk
If you find mold growing on or beneath failing caulk in a wet area, simply recaulking over it is not sufficient. You need to remove all the old caulk, treat the surface with an appropriate mildew-killing cleaner, allow it to dry completely, and then confirm no mold has penetrated into the wall cavity before sealing it again. If you see staining on the adjacent drywall or notice a soft, spongy wall surface, that may indicate water damage behind the tile or surround — a situation worth having a professional evaluate before you seal it up.
Use a bright flashlight and, where possible, run a dry finger along the bead to feel for gaps you can't easily see. Pay extra attention to corners and transitions between two different materials — those joints move the most and fail first.
Room-by-Room Audit Checklist
Work through each zone below. Check off items as you go, and mark any that need immediate attention versus those you can schedule for a follow-up weekend.
Bathrooms
Kitchen
Windows (Interior and Exterior)
Exterior Doors and Thresholds
Utility Penetrations
Attic, Basement, and Crawl Space Access Points
Electrical and Gas Penetrations: Hire a Pro
This checklist covers caulking and draft sealing for typical home penetrations. Do not attempt to seal around electrical panels, service entry cables, or gas line penetrations yourself. Incorrect sealing in these areas can create fire hazards or interfere with safe venting. If you notice gaps at electrical or gas entry points, contact a licensed electrician or plumber to assess and address them properly.
For a related set of tasks that can dramatically refresh a bathroom's look alongside recaulking, see our overview on bathroom refresh projects you can do without a full renovation.
Replacing Caulk: The Right Way to Do It
If your audit flags caulk that needs replacing, resist the urge to simply apply new caulk on top of old. Fresh caulk will not bond reliably over a deteriorating layer, and the new bead will fail faster than it should.
- Remove all old caulk using a plastic or metal caulk removal tool (a utility knife works on harder-to-reach corners). Take your time — any remnant left behind undermines the new seal.
- Clean the surface thoroughly with a mildew-removing cleaner in wet areas, then let it dry completely. Caulk will not adhere properly to damp, oily, or dusty surfaces.
- Choose the right caulk type. Silicone caulk is best for wet areas like tub surrounds and sinks because it resists mildew and remains flexible. Latex or acrylic-latex caulk is easier to paint over and works well for interior trim and window frames. Exterior-grade siliconized latex is a good choice around outdoor window and door frames.
- Apply a steady, continuous bead at a consistent angle. Smooth the bead with a dampened finger or caulk tool within a few minutes of application.
- Allow full cure time before exposing the joint to water or stress. Check the product label — this can range from a few hours to 24 hours or more depending on formulation and humidity.
If your audit also turns up gaps around deck ledger boards or siding transitions, those joints deserve the same attention — see our deck maintenance reference for guidance on exterior sealing tasks.
The content on this site is for informational purposes only and is not a substitute for professional advice. Always consult a qualified professional for guidance specific to your situation.