

Summary
28 items · 45–90 minutes
Why Move-In Documentation Is Non-Negotiable
Security deposit disputes are among the most common conflicts between renters and landlords in the U.S. In many cases, renters lose money not because they caused damage, but because they cannot prove they didn't. Move-in documentation closes that gap before it becomes a problem.
The principle is straightforward: establish a clear, dated record of your rental's condition on day one, before your belongings touch a single surface. That record — photos, video, and a written inspection report — becomes your evidence file if your landlord ever tries to charge you for damage that existed long before you arrived.
This isn't about distrust. Most landlords are fair. But memories fade, staff turns over, and honest disagreements happen. A documented baseline protects both parties. As part of a broader renting journey, this step fits directly into the guidance found in our complete renter's guide.
Submit Your Documentation in Writing on Day One
Verbal reports of pre-existing damage carry almost no legal weight. Email your landlord your written inspection report and a selection of timestamped photos on the day you receive the keys. This creates an unambiguous, dated paper trail. Many states require landlords to provide move-in inspection forms by law — check your state's tenant rights statutes or contact a local tenant advocacy organization to understand your specific protections.
What You'll Need Before You Start
Gather these tools before entering the unit for your inspection walk-through. Being prepared ensures you don't miss anything while rushing.
Smartphone with Camera
Capture timestamped photos and video of every room — your primary documentation format.
Move-In Inspection Form
A written room-by-room checklist to record damage, missing items, and existing conditions in writing.
Plug-in Outlet Tester
Quickly verify that all electrical outlets are live and properly wired without specialized knowledge.
Flashlight or Phone Torch
Illuminate dark closets, under-sink cabinets, and corners where damage is easy to miss.
Cloud Storage or Email
Back up all photos and videos immediately so the timestamps are preserved and off-device.
Once you've completed your inspection, submit a copy of your written report to your landlord — ideally by email so you have a timestamped record of delivery. Request written acknowledgment. If your landlord provides a standard move-in form, fill it out in addition to your own documentation, not instead of it. You'll also want to review your lease's specific language about move-out expectations — understanding what "normal wear and tear" means in your state can affect what you're allowed to claim later. For a broader look at the leasing process that precedes this step, see how the rental application process works.
Room-by-Room Move-In Checklist
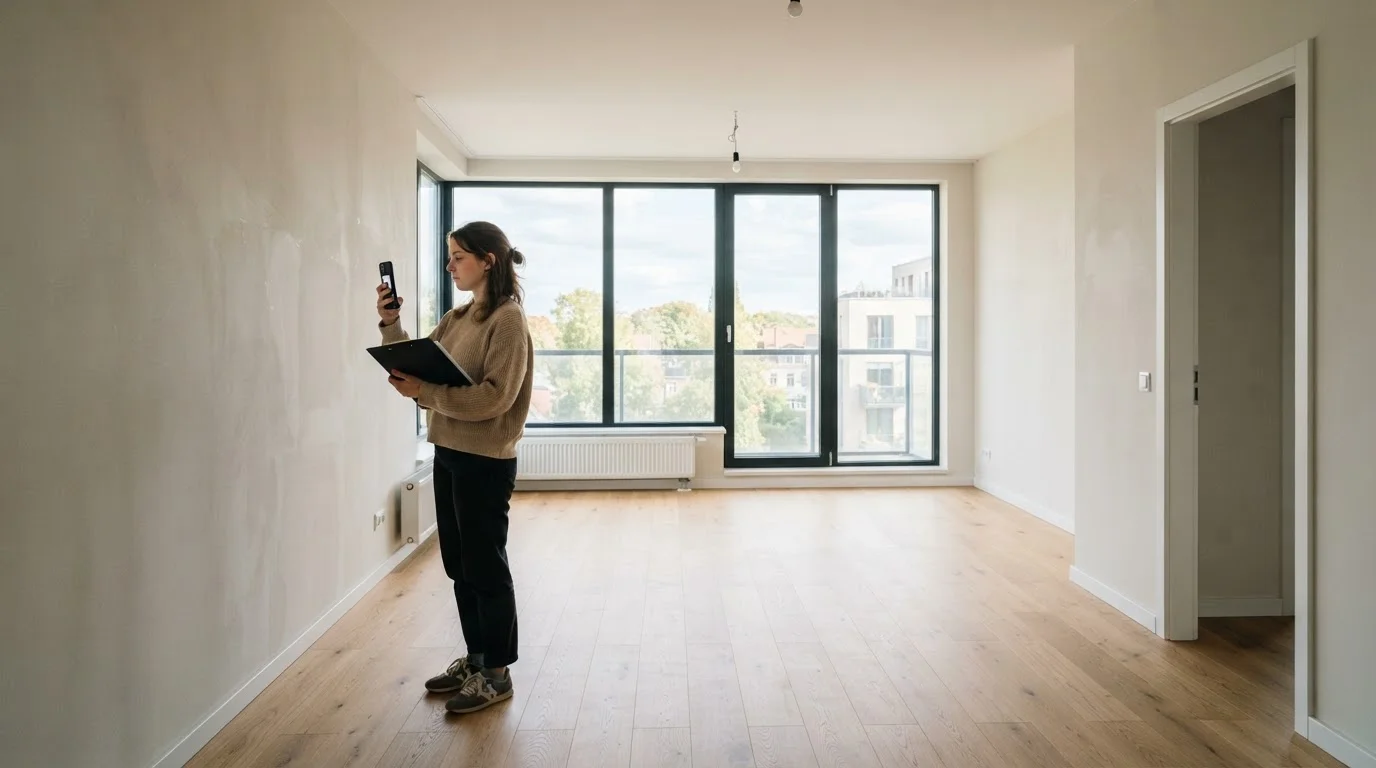
Work through each room systematically. Photograph before you write notes — images capture details your checklist might miss. Use natural light where possible, and supplement with your phone's flash in darker corners, closets, and under appliances.
Before You Enter
All Rooms — Universal Checks
Kitchen
Bathrooms
Bedrooms and Closets
Safety and Utilities
Don't Sign a Blank or Inaccurate Inspection Form
If your landlord provides a move-in checklist that's already partially filled in, review every item before signing. Never sign a form that lists the unit as being in "perfect condition" if you've observed damage — that signature can be used against you at move-out. Write corrections directly on the form, note your objections, and keep your own copy regardless of what the landlord countersigns.
Once you've documented existing conditions and are ready to make the space your own, keep your lease terms in mind. Renter-friendly decorating approaches can help you personalize without risking your deposit, and if redecorating is on your horizon, a room planning checklist is a smart next step.
The content on this site is for informational purposes only and is not a substitute for professional advice. Always consult a qualified professional for guidance specific to your situation.