

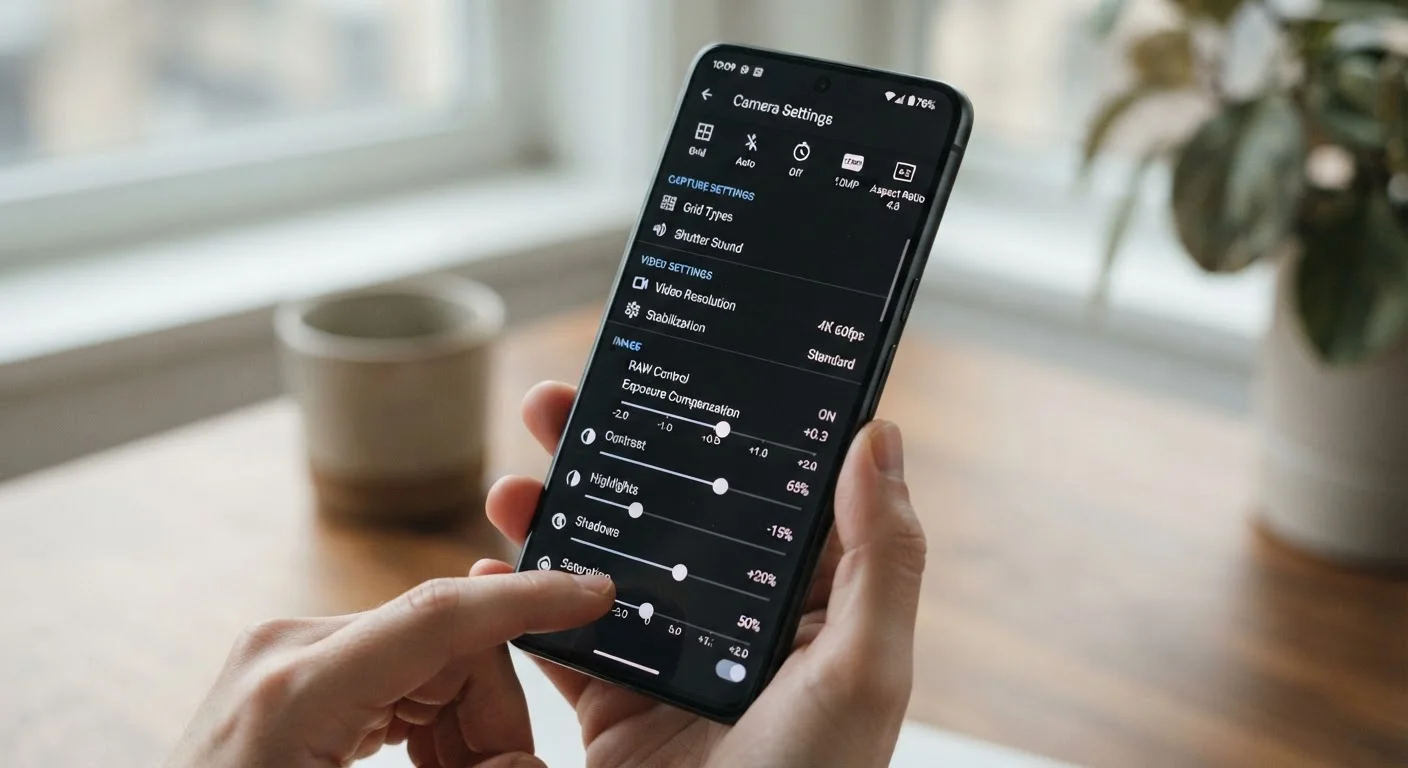
The Settings Your Phone Camera Is Hiding
Most people open the camera app, point, and tap the shutter. That works — but your phone's camera is quietly offering you a dozen adjustments you may never have noticed. These settings don't require photography experience to use. They require only knowing what each one does and when it helps. This guide covers the most commonly overlooked options, in plain language.
| Default saving format | JPEG (compressed) |
| RAW file size vs. JPEG | Typically 3–6x larger |
| HDR best for | High-contrast scenes (bright sky + dark shadow) |
| Common aspect ratios | 4:3, 16:9, 1:1 |
| AE/AF Lock activation | Press and hold on subject for ~1 second |
| White balance setting | Auto, Cloudy, Shade, Fluorescent, Tungsten |
If you're just getting comfortable with your phone overall, see our starting guide for first-time smartphone owners before diving in here.
HDR, RAW, and Aspect Ratio — Decoded
HDR (High Dynamic Range)
HDR is a setting — or sometimes an automatic mode — that tells your camera to capture multiple exposures at once and merge them. The result is a photo where bright areas (like a window) and dark areas (like a shadowy corner) both show detail at the same time. Without HDR, one of those areas often washes out or goes dark.
When to use it: outdoor scenes with strong shadows and bright sky, indoor shots near windows. When to skip it: fast-moving subjects, since the merge process can create blur or ghosting.
RAW Format
By default, your phone saves photos as JPEG files. JPEG is compressed — the phone has already made decisions about color, sharpness, and exposure before saving. RAW files skip that step and save all the data the sensor captured. That gives you far more control when editing later, but RAW files are much larger and require a dedicated app to view and edit.
RAW is worth turning on if you regularly edit photos on a computer. For casual snapshots shared to social media, JPEG is simpler and the difference is rarely noticeable. For more on how storage affects your available space, see our explainer on smartphone storage — RAM, internal storage, and the cloud.
Aspect Ratio
Aspect ratio controls the shape of your photo. Common options include 4:3 (the classic photo shape), 16:9 (widescreen, like a TV), and 1:1 (a perfect square). Choosing the wrong ratio for your intended use means cropping later — or borders on-screen. Shoot 16:9 if the photo is going to a widescreen display; shoot 1:1 if it's destined for a platform that displays square images.
HDR
High Dynamic Range. A photo mode that combines multiple exposures to preserve detail in both bright highlights and dark shadows within the same image.
RAW file
An uncompressed image file containing all data captured by the camera sensor. RAW files offer more editing flexibility than JPEGs but are larger and require special software to open.
Aspect ratio
The proportional relationship between a photo's width and height. Common ratios include 4:3 (standard), 16:9 (widescreen), and 1:1 (square).
Exposure compensation
A manual override that makes a photo brighter or darker than the camera's automatic exposure setting. Usually shown as a scale from negative (darker) to positive (brighter).
White balance
A camera setting that adjusts how colors appear based on the type of light in the scene, preventing unnatural color casts from artificial or mixed lighting.
AE/AF Lock
Auto Exposure / Auto Focus Lock. A feature activated by holding your finger on the screen that freezes both focus and brightness settings on a chosen point in the frame.
Exposure, White Balance, and Focus Lock
Exposure Compensation (EV)
The exposure value slider — usually a sun icon with a plus/minus scale — controls overall brightness. Your camera guesses at the right exposure automatically, but it sometimes gets it wrong, especially in tricky lighting. Sliding the scale brighter or darker overrides that guess. This is one of the most practical adjustments most people overlook.
White Balance
White balance adjusts how the camera interprets color temperature. Fluorescent lights make photos look greenish; tungsten bulbs push toward orange. Your phone corrects for this automatically, but the auto setting sometimes drifts. Manually locking white balance to the light source — cloudy, shade, fluorescent, tungsten — keeps colors consistent, which matters most when you're shooting a series of photos you want to look uniform.
Focus Lock and AE/AF Lock
On most phones, holding your finger on the screen for a second locks both focus and exposure on that spot. This is called AE/AF Lock (Auto Exposure / Auto Focus Lock). It prevents the camera from refocusing or re-exposing when something moves across the frame. It's especially useful for portraits and food photography, where the background shifting shouldn't change how your subject is lit or focused.
Knowing these settings also becomes genuinely useful when you're traveling. Sharp, well-exposed travel photos often come down to a few intentional adjustments — for broader travel photography inspiration, see our travel tips hub.
Settings Vary by Phone and OS Version
Not every setting listed here appears on every phone. Older devices and some budget models may not support RAW capture or manual white balance. Camera app layouts also differ between Android manufacturers and iOS versions. If you can't find a setting, check your camera app's help menu or look under 'Pro' or 'More' modes — many phones tuck advanced controls there. Software updates can also add or move these features, so it's worth checking after major OS updates.
The content on this site is for informational purposes only and is not a substitute for professional advice. Always consult a qualified professional for guidance specific to your situation.