

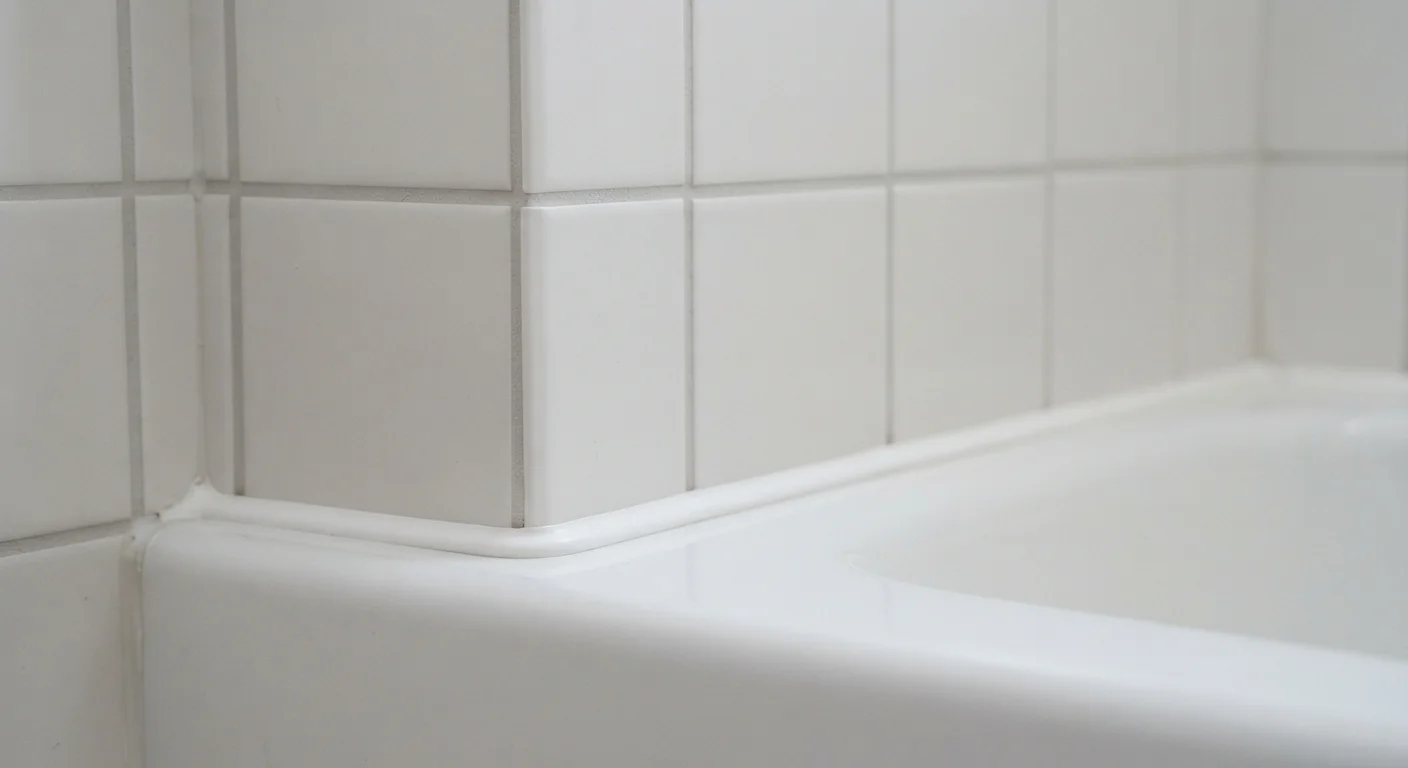
Option A
Grout
The rigid, load-bearing filler for tile fields.
Best for: Filling the joints between tiles on floors, walls, and backsplashes where surfaces move as a single plane.
Option B
Caulk
The flexible sealant for joints that shift and meet.
Best for: Sealing corners, transitions, and junctions between two different surfaces that expand, contract, or experience vibration.
What Each Material Is Actually Doing
Grout and caulk look similar fresh out of the tube, but they serve fundamentally different engineering purposes. Grout — whether sanded or unsanded — is a cement-based compound that hardens into a rigid fill. It bonds adjacent tiles into a coherent surface and is designed to resist compression and abrasion. It is not designed to flex.
Caulk, by contrast, is a polymer-based sealant that cures into a rubbery, elastic material. Its whole value lies in its ability to move. When a bathtub shifts a fraction of an inch due to the weight of water and a person, the caulk joint at its perimeter stretches and recovers rather than fracturing.
Understanding this distinction makes every placement decision straightforward: if both surfaces on either side of a joint are the same material moving as one unit, grout is likely correct. If the joint sits between two different materials, or at an inside corner where two planes meet, caulk almost always belongs there.
| Criterion | Grout | Caulk |
|---|---|---|
| Material base | Cement or epoxy | Silicone, latex, or hybrid polymer |
| Flexibility when cured | Rigid | Elastic and flexible |
| Best joint location | Between tiles on same plane | Corners, transitions, different materials |
| Handles movement | No — cracks under stress | Yes — stretches and recovers |
| Water resistance | Moderate (sealing recommended) | High (especially silicone) |
| Paintable | Yes, once fully cured | Latex yes; silicone no |
| Typical cure time | 24–72 hours before use | 24 hours (silicone longer) |
Where Grout Belongs — and the Types to Know
Grout fills the spaces between tiles on floors, walls, countertops, and backsplashes. The tile industry generally recognizes two categories for most residential use:
- Unsanded grout — used for joints narrower than 1/8 inch. The fine texture won't scratch polished or glazed tile surfaces.
- Sanded grout — used for joints 1/8 inch wide or wider. The sand particles add bulk and reduce shrinkage cracking in wider gaps.
Epoxy grout is a third option — far more stain- and chemical-resistant — but it requires more precise mixing and application, making it less forgiving for DIYers attempting their first tile project.
One important rule: never use grout to fill an inside corner. The Tile Council of North America's installation standards specifically call for a movement joint — filled with caulk — at every inside corner, floor-to-wall transition, and change-of-plane, because those are the spots where structural movement concentrates.
A Note on "Grout Caulk" Products
Some manufacturers sell color-matched caulk specifically labeled for use in tile joints. These products are designed to be used at movement joints — not to replace grout across an entire tile field. Their purpose is to match your grout color while still providing the flexibility a corner or transition joint requires. Read the product label carefully to confirm the intended application before use.
Where Caulk Belongs — and How to Choose the Right Formula
Caulk earns its place at any joint where two surfaces meet at an angle, where materials differ, or where slight movement is expected. In a tiled bathroom alone, that includes:
- The perimeter where the tub or shower pan meets the tile wall
- All inside corners within the shower enclosure
- Where tile meets a wood vanity cabinet or baseboard
- Around a tile threshold where the bathroom floor transitions to another room
For wet areas, 100% silicone caulk offers superior water resistance and mold inhibition, though it requires mineral spirits for cleanup and cannot be painted. Latex or acrylic-latex caulk is easier to tool smooth, cleans up with water, and accepts paint — making it the better choice for dry areas like where baseboard trim meets a tile floor in a living room. Hybrid siliconized latex formulas attempt a middle ground, offering paintability with improved moisture resistance.
For a thorough approach to finding and fixing failing caulk throughout your home, see our weekend caulking audit guide. It walks room by room through every common trouble spot.
~30%
Of tile failures linked to improper joint filler use
Industry tile installation guides suggest a significant proportion of callbacks and warranty claims stem from using rigid grout at movement joints rather than flexible sealants.
1/8"
Joint width threshold for sanded vs. unsanded grout
The Tile Council of North America's Handbook for Ceramic, Glass, and Stone Tile Installation uses this measurement as the standard dividing line between grout types.
What Goes Wrong When You Mix Them Up
The most common mistake homeowners make is grouting an inside corner in a shower. It looks clean on day one. Within a year — sometimes sooner, depending on how much thermal cycling the space experiences — hairline cracks appear. Water infiltrates, the substrate gets wet, and mold can follow. Rework is the only fix, which means removing the cracked grout, cleaning the joint thoroughly, and applying caulk correctly from the start.
The reverse error — using caulk in a tile field instead of grout — creates a different problem. Caulk lacks the hardness to withstand foot traffic between tiles. It compresses, picks up stains, and attracts dirt far more readily than cured grout. The joint also remains slightly soft, which can cause edge chipping on surrounding tiles over time.
Surface prep failures affect both materials equally. Grout or caulk applied over dusty, damp, or oily surfaces will delaminate prematurely regardless of the product quality. Wipe joints clean, let them dry fully, and remove any old material completely before applying a new bead. This same principle applies to other home repair materials — our drywall patching guide covers how skipping prep leads to patches that crumble in months.
The content on this site is for informational purposes only and is not a substitute for professional advice. Always consult a qualified professional for guidance specific to your situation.