

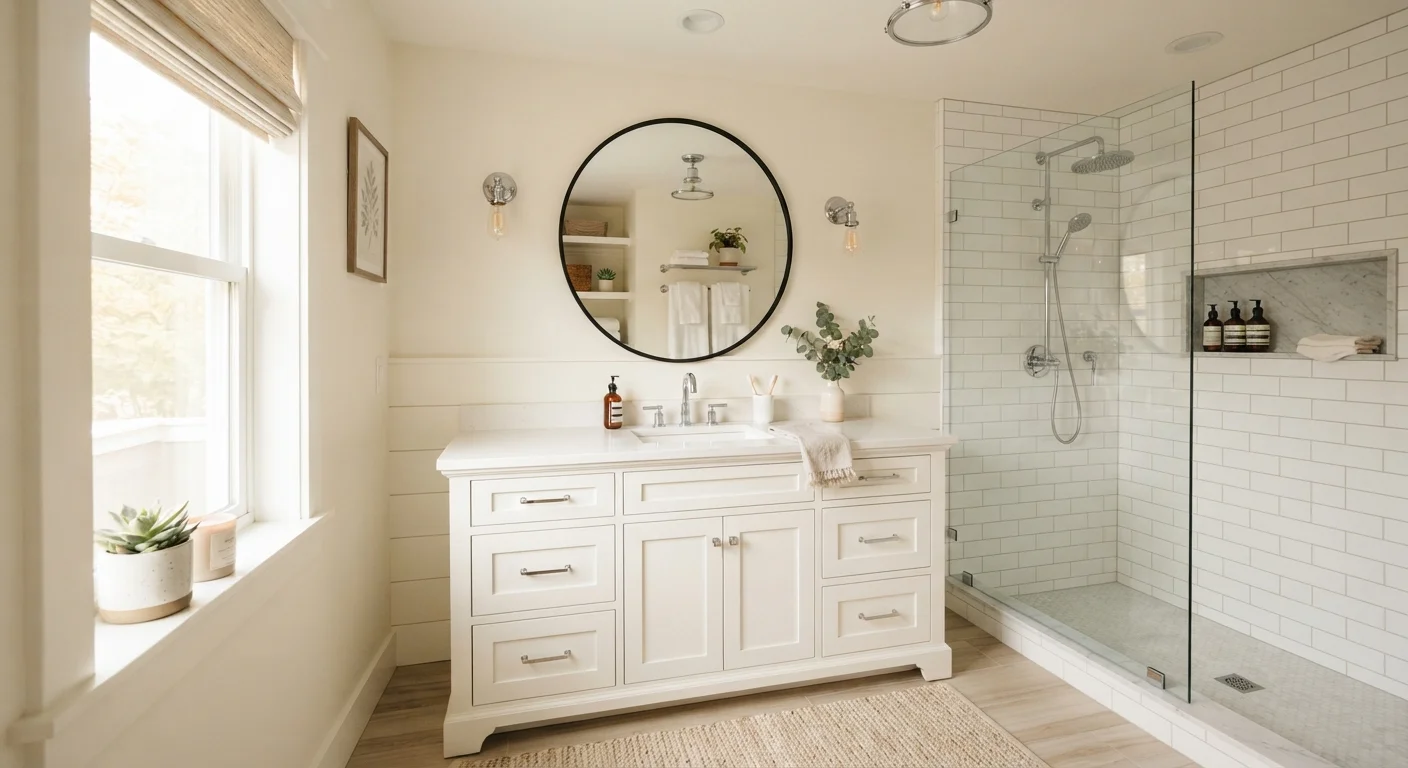
Why a Refresh Beats a Full Gut Job
A full bathroom renovation — demo, new tile, rerouted plumbing, new fixtures — can run into the tens of thousands of dollars and take weeks to complete. For most homeowners, the bathroom just needs to feel newer: cleaner grout lines, hardware that doesn't wobble, a vanity that doesn't look like it came from 1994. Targeted cosmetic updates hit that mark at a fraction of the cost and time.
Before you pick up a caulk gun, spend a few minutes with our room planning checklist to map out your budget and priorities. And if you're newer to DIY work generally, the First-Timer's Roadmap to Home Improvement Projects is a smart place to build your foundation before diving in.
Replace Dated Hardware and Fixtures
Towel bars, toilet paper holders, robe hooks, and faucet handles accumulate years of wear and can make an otherwise clean bathroom look tired. Swapping them out is usually a matter of removing two screws per piece and drilling new anchor points if the spacing doesn't match. Choose a single finish — brushed nickel, matte black, polished chrome — and apply it consistently across every piece to create a cohesive, intentional look.
Faucet replacement is slightly more involved but still well within beginner range for most bathroom sink faucets. Shut off the supply valves under the sink, disconnect the supply lines, remove the old faucet's mounting nut, and install the new one following the manufacturer's instructions. Hand-tighten connections first, then give a quarter-turn with a wrench — overtightening can crack fittings.
A single unified finish across all hardware can make a bathroom look completely redesigned.
Recaulk the Tub Surround and Sink
Old, discolored, or cracked caulk around a tub surround or vanity sink is one of the most visible signs of a neglected bathroom — and one of the easiest to fix. Start by scoring out every trace of the old caulk with a caulk remover tool or a utility knife, then scrub the area with a mold-killing bathroom cleaner and let it dry completely for at least 24 hours. Any moisture trapped under fresh caulk will cause it to fail quickly.
Apply new 100% silicone caulk in a steady, even bead, pressing it firmly into the joint. Smooth with a wet finger or a caulk tool, and mask off edges with painter's tape if you want clean lines. Allow the full cure time listed on the product packaging — typically 24 hours — before exposing the seam to water. For a broader look at where caulk fails first around the home, our weekend caulking audit guide walks through every trouble spot room by room.
Completely removing old caulk before applying new is the step most DIYers skip — and the reason refreshes fail.
Paint or Refinish the Vanity Cabinet
A solid wood or plywood vanity cabinet can be painted to look like new — or like something entirely different. Remove the doors and drawers, label them so reassembly is straightforward, and clean all surfaces thoroughly with a degreasing cleaner. Lightly sand with 150-grit sandpaper to give the paint something to grip, wipe away dust with a tack cloth, and apply a bonding primer formulated for previously finished surfaces.
Once the primer is dry, apply two thin coats of cabinet-grade latex or alkyd paint, letting each coat dry fully before the next. Semigloss or satin sheens hold up best in the humid bathroom environment. Swap the old knobs and pulls for new hardware at the same time, and the result can be genuinely striking.
Priming with a bonding primer is the single most important step for paint that actually sticks to cabinet surfaces.
Regrout or Deep-Clean Existing Tile
If your tile is structurally sound but the grout looks dark and grimy, a deep clean with a grout-specific cleaner and a stiff-bristled brush can restore a surprising amount of brightness. For grout that's cracked, crumbling, or beyond cleaning, selective regrouting — removing the damaged lines with a grout saw and pressing in fresh grout — is a manageable weekend project that doesn't require touching the tile itself.
Finishing with a penetrating grout sealer after cleaning or regrouting helps repel moisture and staining going forward. Reapply sealer annually in high-moisture areas like showers for the best long-term results.
Sealing grout after cleaning is a five-minute step that can extend how long your bathroom stays looking fresh.
Upgrade Lighting and the Mirror
Bathroom lighting has an outsized effect on how the room feels and how well it functions. If your existing light fixture is wired and the junction box is already in place, replacing the fixture itself is generally a straightforward swap — but always turn off the circuit at the breaker and verify with a non-contact voltage tester before touching any wiring. If you're unsure about any step, a licensed electrician can handle the swap quickly and safely.
Replacing a frameless builder-grade mirror with a framed alternative — or simply adding a peel-and-stick mirror frame kit — adds warmth and definition without any structural changes. Anchor a new mirror securely into wall studs or with appropriate drywall anchors rated for the weight.
Swapping a builder-grade mirror for a framed version is one of the highest-impact, lowest-effort bathroom updates available.
Refresh the Accessories and Textiles
New towels, a coordinated bath mat, a soap dispenser, and a matching trash can cost comparatively little but signal intentional design. In a small room like a bathroom, even minor visual clutter or mismatched colors are amplified — so editing down to a tight two- or three-color palette and replacing worn or mismatched textiles creates a noticeably cleaner look with no tools required.
If you're working in a rental rather than a home you own, most of these textile and accessory updates are fully reversible — for more ideas in that direction, our renter-friendly decorating guide covers approaches that won't risk a security deposit.
Committing to a two- or three-color palette for accessories is the fastest way to make a bathroom feel curated.
Finishing Strong and Knowing Your Limits
A bathroom refresh rewards patience at every stage. Rushing prep work — skipping a cleaning step, painting over damp surfaces, or applying caulk to a dirty seam — is the most common reason DIY updates fail within a year. Take your time, let things cure fully, and the results will hold.
Let Everything Cure Before Testing
Whether you've freshly painted cabinet doors or applied new caulk, giving materials their full recommended cure time before exposure to heat, steam, and water is critical. Check the manufacturer's instructions for each product — cure time and dry time are not the same thing, and steam from a hot shower can compromise a surface that feels dry to the touch but hasn't fully hardened.
That said, some tasks belong to licensed professionals. Work involving electrical wiring inside walls, modifications to main water supply lines, or anything requiring a building permit should be handed off rather than attempted solo. When in doubt, call a plumber or electrician for an assessment — it's far less expensive than fixing a mistake. For one very common plumbing fix you can handle yourself, see our guide to fixing a running toilet without calling a plumber.
The content on this site is for informational purposes only and is not a substitute for professional advice. Always consult a qualified professional for guidance specific to your situation.