

Start here
Start With the Right Mindset (and a Plan)
Next
Building Your Starter Toolkit
Then
Safety Basics Every First-Timer Should Know
Important check
Knowing When to Call a Professional
Ready to begin
Good Beginner Projects to Build Confidence
Start With the Right Mindset (and a Plan)
The biggest obstacle most first-timers face isn't a lack of skill — it's a lack of a plan. Jumping into a project without thinking it through is how a simple weekend task turns into a three-week headache. Before picking up a single tool, spend time defining exactly what you want to accomplish.
Write down the project goal in plain terms: "Repaint the living room walls" or "Replace the bathroom faucet." Then break it into steps. Research each step individually — YouTube tutorials, manufacturer instructions, and home improvement forums are all useful starting points. Identify which materials you'll need, estimate how long each step will take, and set a realistic budget. If you're new to budgeting for home costs, the Ground-Up Budget Guide offers a solid framework for getting your finances organized first.
One underrated planning step: check whether your project requires a permit. Many homeowners are surprised to learn that seemingly simple work — replacing a water heater, adding an outlet, or modifying a wall — falls under local building codes. Skipping required permits can create problems when you sell your home or make a future insurance claim. Our article on when DIY repairs need permits explains what's typically regulated and why it matters.
Check Local Requirements Before You Start
Building codes and permit requirements vary significantly by city, county, and state. What's allowed as a DIY project in one jurisdiction may require a licensed contractor in another. Always contact your local building department or check its website before beginning any work that could plausibly be regulated. This step takes minutes and can prevent costly fines or required teardowns later.
Building Your Starter Toolkit
You don't need a garage full of specialized equipment to handle most beginner projects. A well-chosen set of basic tools will serve you through dozens of common tasks.
Stud
A vertical framing member inside your wall, typically wood or metal, used to anchor shelves, fixtures, and heavy items securely.
Pilot hole
A small hole drilled before driving a screw to prevent wood from splitting and to guide the fastener into the right position.
Joint compound
A paste-like material used to fill gaps, holes, and seams in drywall before painting. Often called 'mud' in the trades.
Caulk
A flexible sealant applied along joints and gaps — such as where a tub meets the wall — to prevent water intrusion and air leaks.
Permit
Official government approval required before certain types of construction or repair work can legally begin in your home.
Load-bearing wall
A wall that supports the weight of the structure above it. Removing or altering one without proper engineering guidance can compromise the building's integrity.
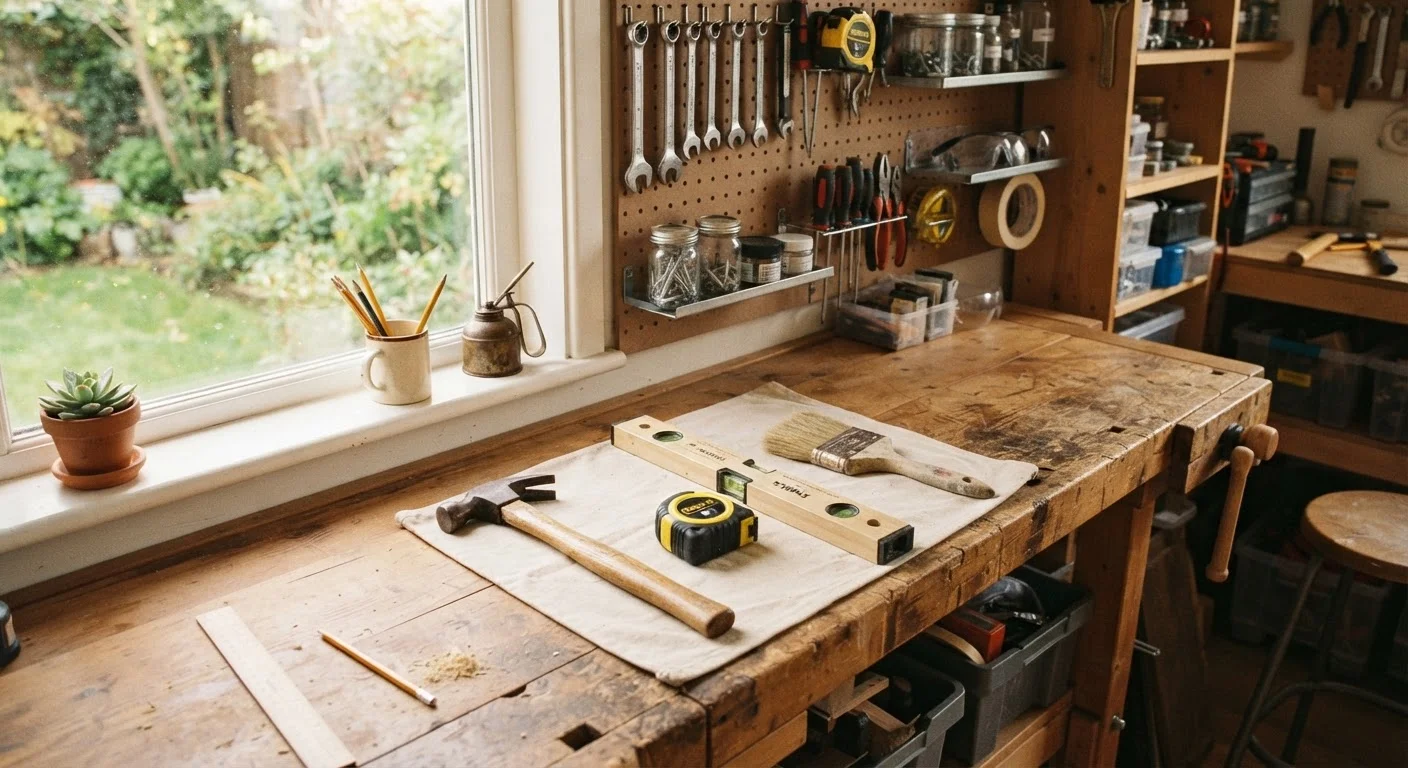
Here's what a practical beginner toolkit looks like:
- Tape measure — Get a 25-foot model. Accurate measuring prevents wasted materials.
- Hammer — A 16-oz. claw hammer handles nails and demo tasks.
- Cordless drill/driver — Arguably the most versatile tool in any kit. Use it for driving screws and drilling pilot holes.
- Level — A 24-inch or 48-inch level keeps shelves, frames, and fixtures straight.
- Utility knife — Essential for scoring drywall, trimming materials, and opening packaging safely.
- Screwdrivers — Keep both flathead and Phillips in multiple sizes.
- Adjustable wrench and pliers — Covers most basic fastening and plumbing tasks.
- Safety gear — Safety glasses and work gloves are non-negotiable; add a dust mask for sanding or demo work.
Buy quality over quantity. A few reliable tools will outperform a large set of cheap ones every time, and they'll last long enough to be worth the investment.
Safety Basics Every First-Timer Should Know
Injuries on home improvement projects are more common than most people expect, and they're nearly always preventable. Developing safe habits from your very first project protects you from the kinds of mistakes that send people to urgent care.
- Turn off power before any electrical work. Use a non-contact voltage tester to confirm a circuit is dead before touching any wiring. Never assume a breaker flip is enough without verifying.
- Wear appropriate PPE. Safety glasses should be on anytime you're cutting, drilling, or sanding. Gloves protect against cuts and splinters; knee pads help during flooring work.
- Stabilize your work surface. More injuries come from unstable ladders and unsecured materials than from any tool. Set ladders on firm, level ground and follow the manufacturer's weight ratings.
- Know what's inside your walls. Before drilling or cutting, use a stud finder and a wire/pipe detector to avoid hitting electrical wires, plumbing, or gas lines.
- Read the instructions. Every tool and material comes with usage and safety directions. Reading them takes five minutes and prevents hours of problems.
Practice on Scrap Material First
Before applying a new technique to your actual project — whether it's cutting tile, driving screws into drywall, or caulking a seam — practice on scrap or leftover material first. This is especially helpful with power tools. Ten minutes of practice can prevent an expensive mistake on the real surface.
If a task involves gas lines, the main electrical panel, or load-bearing structural elements, stop and consult a licensed professional. These aren't areas where learning by trial and error is acceptable.
Knowing When to Call a Professional
One of the most important skills a DIYer develops is recognizing the boundary between what they can safely handle and what requires a licensed expert. This isn't about lack of confidence — it's about honest assessment of risk.
As a general rule, hire a licensed professional for:
- Electrical panel work — Upgrading, replacing, or modifying your home's electrical panel is regulated work in virtually every jurisdiction and carries serious safety risk.
- Gas lines — Any work involving natural gas or propane lines should always be handled by a licensed plumber or gas fitter.
- Structural modifications — Removing or altering walls, beams, or foundation elements requires engineering knowledge and almost always a permit.
- Major plumbing — Work that connects to the main water supply or sewer line typically requires a licensed plumber.
This same principle applies in other domains. Just as you'd consult our breakdown of DIY auto maintenance vs. taking it to a shop before diving under the hood, the home improvement version of that question deserves equal care. If the downside of a mistake involves structural damage, fire, flooding, or voided insurance, it belongs in professional hands.
Good Beginner Projects to Build Confidence
The best way to develop DIY competence is to start with projects where mistakes are low-stakes and fixable. These tasks teach real, transferable skills without putting your home — or yourself — at serious risk.
Interior painting is the classic starting point. It requires patience and prep work (cleaning walls, taping edges, priming) but no specialized expertise. The payoff — a dramatically refreshed space — is immediate. If you're planning a full room refresh, our guide on approaching a bare room with confidence pairs well with a paint project.
Patching small drywall holes teaches you how walls are constructed and how to finish a surface properly. Most hardware stores carry pre-mixed joint compound and mesh patches that make this accessible for beginners.
Replacing cabinet hardware is a half-day project that requires only a screwdriver, delivers visible results, and builds comfort with basic fastening work.
Caulking and weatherstripping improve energy efficiency and prevent moisture damage — two real, measurable benefits. These are also great tasks for developing an eye for detail and a steady hand.
Want to extend your DIY instincts outdoors? Starting your first garden follows a similar logic: start simple, learn the fundamentals, and build from there. Before you redecorate any interior space after your improvements, our room redecorating checklist can help you sequence the work intelligently.
When a DIY Repair Needs a Permit
Learn which home improvement projects typically require permits, why skipping them carries real risk, and how to find out what your local jurisdiction requires.
Before You Redecorate a Room: A Planning Checklist
A structured checklist covering layout, lighting, budget, and timing to help you sequence a room refresh without costly missteps.
Starting from Scratch: A Bare Room Guide
Walk through a logical, step-by-step approach to furnishing and decorating a room from nothing — from anchor pieces to finishing touches.
Frequently Asked Questions
Painting walls, patching small drywall holes, replacing cabinet hardware, caulking around tubs and sinks, and installing weatherstripping are all manageable for beginners. These tasks have a low risk of injury and don't typically require permits. They also teach fundamental skills — measuring, cutting, and finishing — that transfer to more complex work later.
It depends on the project and your local jurisdiction. Cosmetic work like painting and flooring usually doesn't require a permit, but electrical, plumbing, structural, and HVAC work commonly does. See our guide on <a href="/home/diy-home-improvement/when-a-diy-repair-needs-a-permit-and-what-happens-if-you-skip-it">when DIY repairs need a permit</a> for a fuller breakdown. Always check with your local building department before starting regulated work.
Costs vary widely depending on the scope, but simple cosmetic projects can often be done for under $100. Setting a clear budget before you shop is essential — check out this guide to <a href="/finance/saving-and-credit/building-your-first-real-budget-a-ground-up-guide-for-new-savers">building a household budget</a> if you're starting from scratch. Always add a 10–20% buffer for unexpected material needs.
A core starter set includes a hammer, tape measure, level, utility knife, screwdrivers (flathead and Phillips), adjustable wrench, and a cordless drill. These tools handle the majority of beginner-level tasks without a large upfront investment. Quality matters more than quantity — a few reliable tools outperform a large set of poor-quality ones.
Hire a licensed professional for any work involving electrical panels, gas lines, load-bearing structures, or main plumbing lines. These projects carry real safety risk and are often legally required to be done by a licensed tradesperson. The cost of hiring a professional is almost always lower than fixing a dangerous or code-violating DIY attempt.
Measure twice before cutting anything, read all product instructions fully before starting, and don't skip prep work like cleaning, priming, or sanding. Rushing is the most common source of errors. Starting with a small, low-stakes project lets you make and learn from mistakes without serious consequences.
The content on this site is for informational purposes only and is not a substitute for professional advice. Always consult a qualified professional for guidance specific to your situation.