

Start here
Why a Blank Room Feels So Overwhelming
Then do this
Step One: Define the Room's Purpose
Next
Step Two: Choose Your Anchor Piece First
Build on it
Step Three: Build a Simple Color Foundation
Almost there
Step Four: Layer In Furniture and Function
Final step
Step Five: Add Finishing Touches Intentionally
Why a Blank Room Feels So Overwhelming
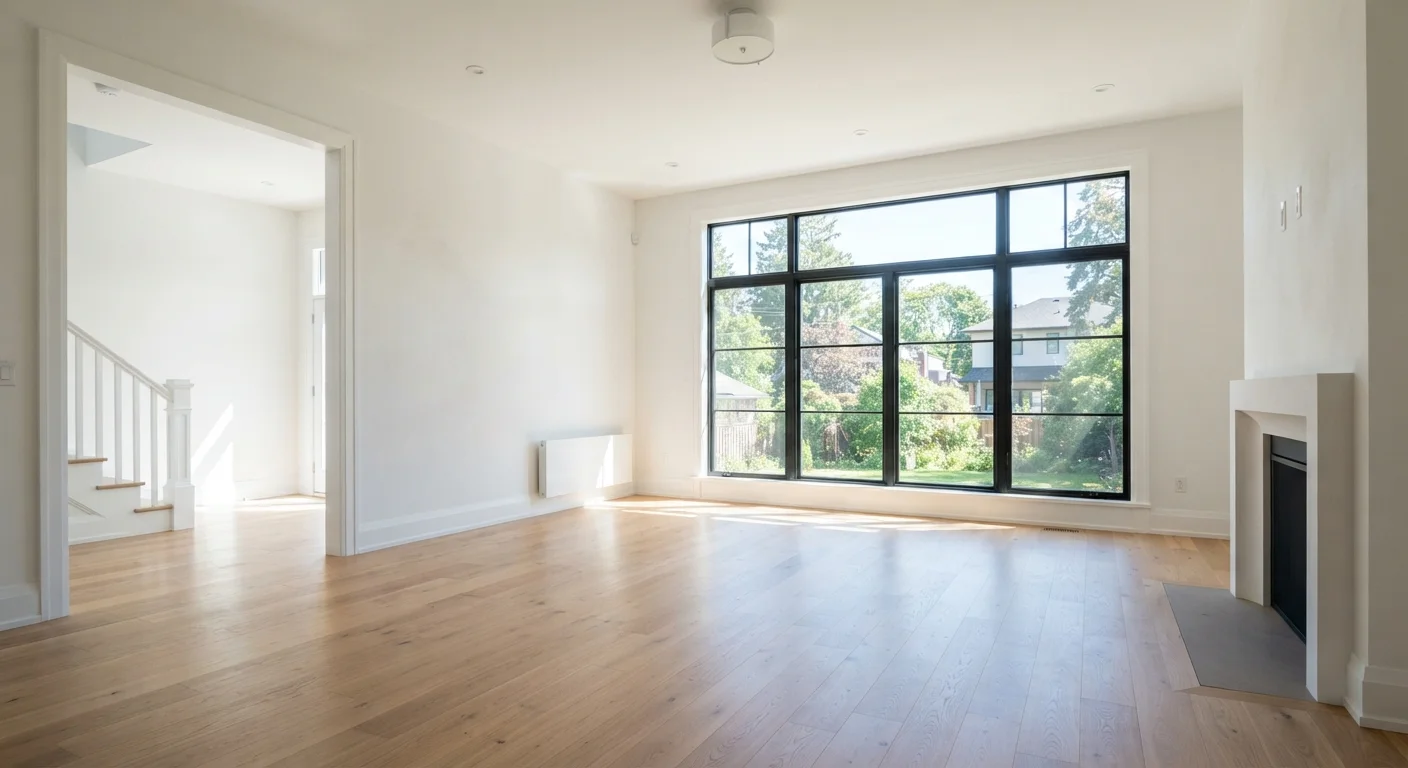
An empty room offers total freedom — and that's exactly what makes it so hard to start. Without any existing furniture or color to react to, every choice feels like a permanent commitment. Most people stall not because they lack taste, but because they don't have a sequence to follow.
The good news: decorating a bare room is far more manageable when you treat it as a series of small, ordered decisions rather than one giant creative leap. This guide gives you that sequence.
Anchor piece
The single most dominant furniture item in a room — like a sofa or bed — that sets the scale, proportion, and visual tone for all other choices.
60-30-10 rule
A simple color-distribution guideline where 60% of the room uses a dominant color, 30% a secondary color, and 10% an accent color, creating visual balance.
Traffic flow
The natural paths people take to move through or around a room. Good furniture arrangement leaves these paths clear and unobstructed.
Floating furniture
Positioning furniture away from the walls and toward the center of a room, which creates a more intimate, intentional grouping rather than a hollow perimeter feel.
Zone definition
Using a rug, lighting, or furniture grouping to visually carve a specific-purpose area within a larger or open-plan space.
Step One: Define the Room's Purpose
Before you sketch layouts or browse colors, answer one question: What will people actually do in this room? A room used primarily for watching TV has different furniture needs, traffic flow, and lighting than one meant for reading, working from home, or hosting dinner parties.
Write down the top two or three activities the room needs to support. This list becomes your functional brief — the filter through which every purchase decision passes. If a piece doesn't serve those activities, it probably doesn't belong in this room.
If you're working with limited square footage, our guide on decorating a small living room covers how to match purpose to layout without the room feeling overloaded.
Step Two: Choose Your Anchor Piece First
An anchor piece is the single largest, most visually dominant item in a room — almost always a sofa in a living room, a bed in a bedroom, or a dining table in an eating area. Choosing it first is critical because it sets the scale, proportion, and often the color direction for everything else.
When evaluating an anchor piece, ask: Does it fit comfortably in the room with space left for movement? Does it reflect a style I can build around? Is the color neutral enough to pair with a range of accents, or bold enough that I'm truly committed to it?
Test Scale Before You Commit
Use painter's tape on the floor to outline the footprint of any major furniture piece before purchasing. This simple step reveals whether the scale works in your actual room — not just on paper. It takes five minutes and can save a costly return trip.
Once your anchor piece is in place, take a photo and use it as a reference whenever you're considering additional items. If a new piece doesn't look natural next to the anchor in the photo, it likely won't work in the room either.
Step Three: Build a Simple Color Foundation
Color is where many beginners get stuck, but a simple framework removes much of the guesswork. A commonly used approach — sometimes called the 60-30-10 rule — divides color across three roles:
- 60% — dominant color (walls, large area rug, or main upholstery)
- 30% — secondary color (secondary seating, curtains, or a contrast piece)
- 10% — accent color (pillows, artwork, small decorative objects)
If you're planning to repaint before furnishing, our related article on interior paint prep explains the surface preparation steps most homeowners overlook — details that significantly affect the final result.
For beginners, keeping the 60% layer in a neutral or near-neutral lets the 10% accents do the expressive work without the room feeling chaotic. As your confidence grows, you can bring in pattern and bolder color more deliberately.
Step Four: Layer In Furniture and Function
With your anchor piece placed and your color palette established, begin filling the room outward — not all at once. Add the next most essential functional piece, then assess. Living with partial furniture for a week or two is genuinely useful: you'll discover traffic patterns, shadow and light shifts at different times of day, and where you naturally gravitate.
A few practical rules for this stage:
- Float furniture off walls. Pushing everything to the perimeter makes a room feel hollow. Grouping pieces toward the center creates conversation zones and visual warmth.
- Use a rug to define zones. In an open-plan space, a rug anchors a seating area and gives the eye a boundary to work within.
- Maintain clear walking paths. Allow roughly 30–36 inches of clearance between major pieces for comfortable circulation.
Step Five: Add Finishing Touches Intentionally
Finishing touches — lamps, art, plants, throw blankets, decorative objects — are what give a room personality. The mistake most beginners make is buying these items first, before the foundational decisions are made, and then struggling to make them cohere.
Added last, these elements have a clear framework to respond to. A plant echoes a green accent already in the rug. A table lamp's warm bulb reinforces the cozy mood established by the upholstery. Each choice feels easier because the room already has direction.
If you're also wiring up entertainment in the space, our guide on setting up surround sound without tearing up walls offers practical options that keep the room looking intentional rather than wired-up.
Resist the urge to complete the room in a single weekend. Living with a space as it develops lets you make additions that truly fit — rather than filling gaps just to feel done.
Don't Over-Accessorize Too Quickly
Filling every surface and wall immediately is one of the most common decorating mistakes. A room that looks sparse at first often reveals the right spots for accessories after you've lived in it for a few weeks. Adding too much too soon can create visual clutter that's hard to undo without starting over.
Frequently Asked Questions
Begin by defining how the room will be used day-to-day. Once you know its purpose, choose one anchor piece — typically the largest furniture item — and let that set the scale and color direction for everything else.
An anchor piece is the single dominant item in a room — usually a sofa, bed, or large dining table — that establishes the visual weight, scale, and often the color palette. Every other furniture and decor choice builds around it.
A widely used guideline is the 60-30-10 rule: 60% dominant color (walls or large surfaces), 30% secondary color (upholstery or rugs), and 10% accent color (pillows, art, accessories). This creates balance without visual clutter.
It's generally easier to match paint to furniture than the other way around, since furniture comes in a finite range of colors. If you already own a sofa or rug you love, choose your wall color to complement it.
Prioritize spending on the pieces you'll use most and see most — the sofa, the rug, and lighting. Finishing touches like throw pillows, plants, and wall art can be added gradually and swapped out seasonally without large cost.
Keep the floor as visible as possible, choose furniture with exposed legs, and use a cohesive light palette on walls and larger surfaces. See our complementary guide for more strategies tailored to compact spaces.
The content on this site is for informational purposes only and is not a substitute for professional advice. Always consult a qualified professional for guidance specific to your situation.