

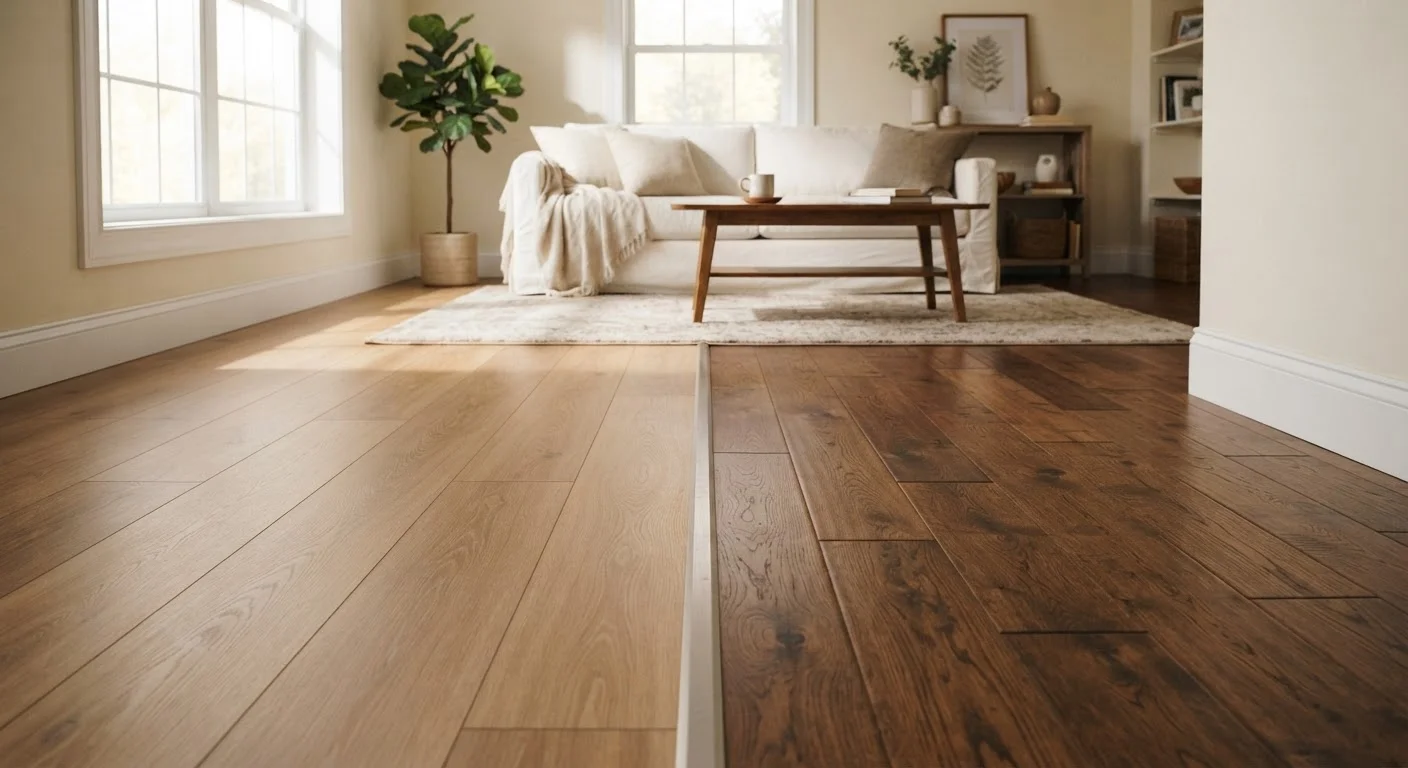
Our Verdict
For most first-time DIYers, laminate offers a forgiving, cost-accessible entry point with faster installation and better moisture tolerance. Hardwood rewards patient, skilled installers with a premium, long-lasting surface that adds tangible value to a home — but it demands more tools, time, and technique.
| Best for | Recommended |
|---|---|
| First-time DIYers or those on a tighter budget | Laminate |
| Homeowners in moisture-prone areas like basements or kitchens | Laminate |
| Those prioritising long-term durability and home resale value | Hardwood |
| Experienced DIYers comfortable with power tools and precise fitting | Hardwood |
Understanding What You're Working With
Before swinging a mallet or pulling out a saw, it helps to understand how these two flooring types are constructed — because their makeup directly affects how they behave underfoot and how you install them.
Laminate flooring is an engineered product made of a dense fiberboard core topped with a photographic layer (which mimics wood, stone, or tile) and sealed with a hard wear layer. Most modern laminate uses a click-lock or tongue-and-groove system, meaning planks snap together without glue or nails and sit as a floating floor above the subfloor.
Solid hardwood is exactly what it sounds like: milled from a single piece of timber, typically 3/4 inch thick. It must be fastened directly to a wood subfloor using a floor nailer or stapler. Engineered hardwood — a layered wood product with a real wood veneer — occupies a middle ground, offering some of hardwood's look with slightly more stability, but it's a separate category worth exploring separately.
If you're new to home improvement projects overall, our First-Timer's Roadmap to Home Improvement Projects covers essential planning and tool basics that apply to flooring work too.
Installation Difficulty: A Realistic Comparison
This is where the two options diverge most sharply for DIYers.
Laminate Installation
Laminate's click-lock system is designed with the non-professional in mind. Once you've prepped your subfloor (it must be level, clean, and dry) and allowed the planks to acclimate to your home's temperature and humidity for 24–48 hours, installation is largely a matter of snapping rows together, cutting end pieces with a circular saw or jigsaw, and working around obstacles like door frames and vents. Most homeowners with basic tool familiarity can complete a standard room in a weekend.
Hardwood Installation
Solid hardwood involves renting or purchasing a pneumatic floor nailer or cleat stapler, which takes practice to use without damaging planks. You'll also need to plan your layout carefully to avoid ending rows with slivers of wood, and face-nailing is required near walls where the nailer can't reach. The wood must acclimate for longer — often 3–5 days — and the subfloor must be structurally sound and flat to within 3/16 inch over a 10-foot span. Mistakes are harder to reverse.
| Laminate | Solid Hardwood | |
|---|---|---|
| DIY Difficulty | Beginner-friendly click-lock system | Intermediate; requires floor nailer |
| Moisture Tolerance | Moderate; seams vulnerable to standing water | Low; swells with humidity and moisture |
| Refinishable | No; replace when worn | Yes; can be sanded multiple times |
| Typical Lifespan | 15–25 years | 50–100 years with refinishing |
| Material Cost Range | Generally lower per sq. ft. | Generally higher per sq. ft. |
| Acclimation Time | 24–48 hours | 3–5 days minimum |
| Subfloor Compatibility | Concrete or wood (with underlayment) | Wood subfloor only |
Just as with knowing when to call a mechanic versus handling repairs yourself, flooring installation has a threshold where DIY stops being practical. Our article on knowing where the DIY line is explores that mindset more broadly.
Durability, Moisture Tolerance, and Lifespan
Both flooring types can last for years, but they age differently and respond to their environment in distinct ways.
Laminate's wear layer resists surface scratches and scuffs well — an advantage in homes with pets or heavy foot traffic. However, if water seeps into the seams or sits on the surface for extended periods, the fiberboard core can swell and warp permanently. Laminate cannot be sanded or refinished; once the wear layer is through, the floor must be replaced.
Solid hardwood is far more susceptible to moisture and humidity swings. It will expand and contract seasonally, which is normal, but excessive moisture — in basements or over concrete slabs — can cause cupping and buckling. The major upside: hardwood can be sanded and refinished multiple times over its life. With proper care, a solid hardwood floor can last 50 to 100 years.
Always Test Subfloor Moisture First
Before committing to either flooring type, use an inexpensive moisture meter to check your subfloor. Readings above the manufacturer's recommended threshold — often around 12% for wood subfloors — can void warranties and cause both laminate swelling and hardwood cupping. Addressing moisture at the source, whether from a crawl space or a plumbing issue, is essential before any floor goes down.
When comparing flooring to other material choices in your home — like textiles or surface finishes — the same natural-versus-synthetic trade-off often applies. Our piece on natural vs. synthetic textiles in home décor examines similar trade-offs for fabric choices.
Cost Considerations and Subfloor Requirements
Neither laminate nor hardwood is universally cheaper once you factor in materials, underlayment, tools, and subfloor prep.
50–100 yrs
Potential lifespan of solid hardwood
Hardwood floors that are periodically sanded and refinished can outlast the home's other interior finishes by decades.
24–48 hrs
Laminate acclimation time before installation
Manufacturers broadly recommend allowing laminate planks to rest in the installation room to stabilize before laying them down.
Laminate materials typically run lower per square foot than solid hardwood, and because installation requires fewer specialized tools, the overall project cost tends to be more accessible. Hardwood material costs more, and renting a floor nailer adds to the budget. However, hardwood's refinishing potential means you may never need to replace it, which changes the long-term cost picture significantly.
Both floors require a solid, flat, dry subfloor. If your subfloor has soft spots, significant gaps, or height variation beyond acceptable tolerances, you'll need to address those first — with plywood patching or a self-leveling compound — before either floor goes down. Skipping this step is one of the most common DIY flooring mistakes. For a deeper look at related subfloor and substrate preparation work, our tile installation guide covers substrate prep in detail, and many of those principles carry over to wood flooring.
This article is for general informational and educational purposes only. Flooring installation involves real physical risks including power tool hazards. Always follow manufacturer guidelines, wear appropriate protective equipment, and consult a licensed professional if you are uncertain about structural or subfloor conditions in your home.
The content on this site is for informational purposes only and is not a substitute for professional advice. Always consult a qualified professional for guidance specific to your situation.