

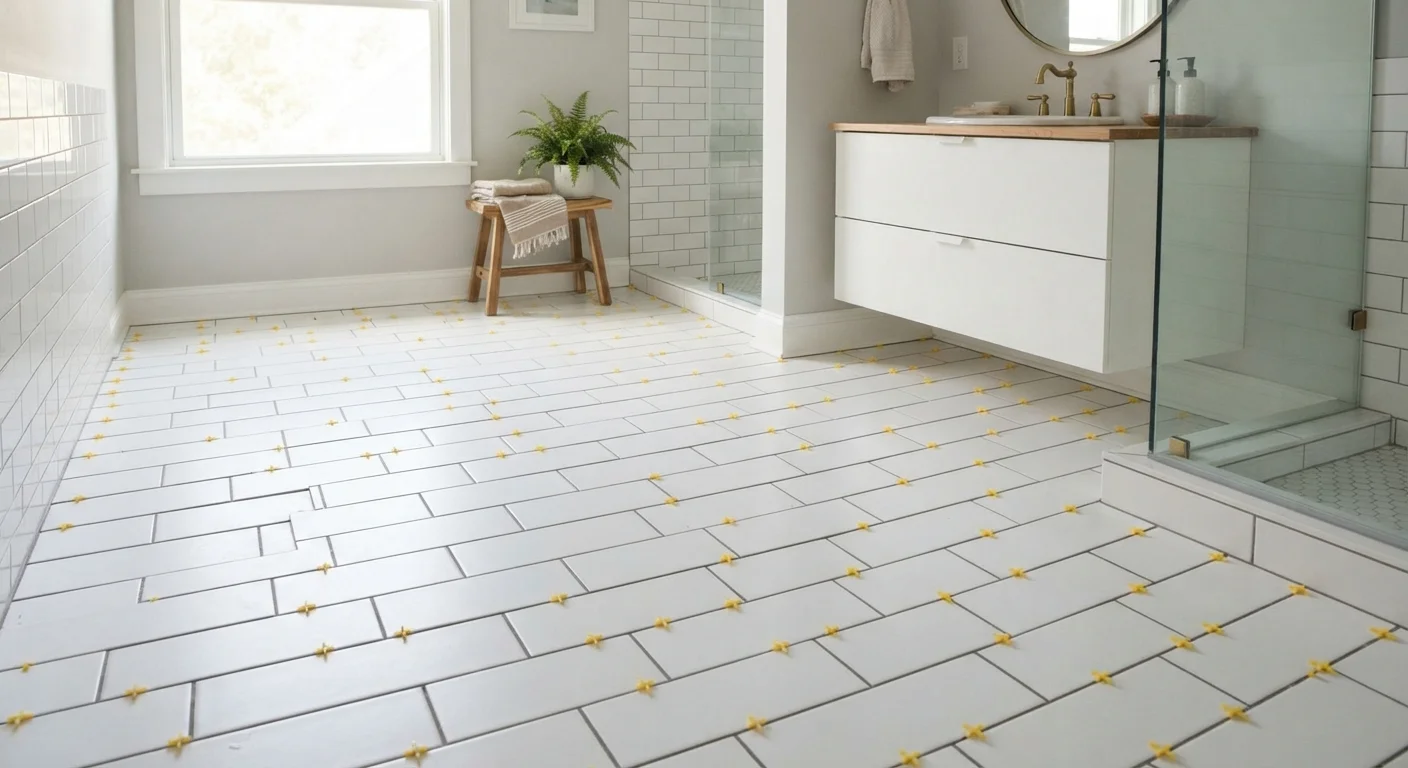
Assessing and Preparing the Substrate
Every successful tile job begins beneath the surface. Tile is rigid; it will crack, pop, or separate if the surface beneath it flexes, sags, or holds moisture. Before buying a single tile, inspect your substrate — the existing floor, wall, or countertop surface you plan to tile over.
For floors, use a long level or straightedge to check for high and low spots. Industry standards generally call for no more than 3/16 inch variation over a 10-foot span. Fill low areas with a floor-leveling compound and grind or sand down high spots. For walls, check for plumb and smooth out any damaged drywall.
In wet areas such as showers and tub surrounds, standard drywall is not an appropriate backer. Use cement board or a moisture-resistant backer board rated for wet installations. Fasten backer board with corrosion-resistant screws and tape seams with alkaline-resistant mesh tape before applying a waterproofing membrane.
Do a Full Dry Layout First
Before mixing any adhesive, dry-lay your entire tile pattern across the floor or wall. This lets you spot awkward cuts, confirm your center point, and visualize the finished result without any commitment. It only takes an extra 30–60 minutes and can save hours of rework.
If you are new to home improvement projects generally, this first-timer's roadmap provides essential grounding in planning, safety, and knowing your limits before you begin.
Planning Your Layout
A strong layout plan prevents awkward slivers of tile at the most visible edges of the room. Start by finding the center of the space — measure each pair of opposing walls, mark their midpoints, and snap chalk lines that intersect at the room's center point.
From that center, dry-lay a row of tiles in each direction out to the walls, inserting the spacers you intend to use. This dry run reveals how much of a cut tile lands at each edge. If you end up with less than half a tile width at any wall, shift your starting point by half a tile to create more balanced cuts throughout.
Always purchase 10–15% more tile than your measured square footage to account for cuts, breakage, and future repairs — dye lots can vary between production runs, making an exact match difficult later.
Running short mid-project or needing a replacement tile years later from a different lot can result in a visible color mismatch that undermines an otherwise clean installation.
When back-buttering large format tiles, use a flat edge of the trowel to 'key' thin-set into the tile back before applying the ribbed layer — this collapses air pockets and dramatically improves bond coverage.
The Tile Council of North America recommends 95% mortar coverage in wet areas; voids beneath tiles trap water and are a leading cause of cracked or hollow-sounding tiles.
For larger format tiles (anything over 15 inches), plan for a lippage-minimizing layout — this means being especially strict about substrate flatness and considering a larger grout joint (1/4 inch or more) to allow for minor tile warping. Comparing tile options early is worthwhile; comparing flooring materials can also clarify whether tile is the right choice for your space.
Choosing the Right Adhesive
For most floor and wall installations, thin-set mortar is the appropriate adhesive. It is a cement-based powder mixed with water (or a latex/polymer additive for improved flexibility and bond strength). Modified thin-set — blended with polymer additives — is recommended for natural stone, large-format tiles, and any application over a slightly flexible substrate.
Mastic (a pre-mixed organic adhesive) is sometimes used for small wall tile in dry areas, but it is not suitable for floors, wet areas, or large tiles, as it softens with moisture and cannot support weight adequately.
95%
Target thin-set coverage for wet area tile
The Tile Council of North America specifies 95% mortar contact coverage for floors in wet areas to prevent moisture infiltration and tile failure.
3/16"
Max floor variation over 10 feet
Industry installation standards call for no more than 3/16 inch variation over a 10-foot span before tiling to avoid cracking and lippage.
Always check the tile manufacturer's installation guidelines; using an incompatible adhesive can void warranty coverage and cause premature failure.
Setting the Tile
Mix thin-set to a peanut-butter consistency — no dry clumps, no puddles. Using a notched trowel (the notch size is determined by tile size; larger tiles need a larger notch), spread adhesive over roughly a 2–3 square foot section at a time to prevent it from skinning over before tiles are set.
Use the back-butter technique for large or heavy tiles: apply a thin coat of thin-set to the back of the tile as well as the substrate. This helps ensure 90–95% adhesive contact coverage, which is the target for most applications.
Press each tile firmly into place with a slight twisting motion, then use a rubber mallet and a beating block to set it level. Insert spacers at each corner to maintain consistent joint width. Check alignment frequently with a level or long straightedge.
Let Thin-Set Cure Before Grouting
Applying grout before thin-set has fully cured can weaken the bond and cause tiles to shift or crack. Most thin-set products require 24–48 hours at standard temperature and humidity. High humidity or cold temperatures can extend cure time significantly — always follow the product manufacturer's data sheet.
Allow thin-set to cure fully — typically 24 to 48 hours — before walking on floors or applying grout. Refer to the product data sheet for exact cure times, as conditions like temperature and humidity affect curing.
Grouting and Sealing
Remove spacers and any dried thin-set from joints before grouting. Choose sanded grout for joints wider than 1/8 inch and unsanded grout for narrower joints or polished stone where sanded grout could cause scratching. Epoxy grout is extremely durable and stain-resistant but requires faster working and is best suited to experienced DIYers.
Mix grout to a thick, lump-free consistency. Working in manageable sections, force grout diagonally across joints with a grout float, holding it at roughly a 45-degree angle. Remove excess grout from tile faces with a damp sponge, rinsing frequently. Allow a light haze to form, then buff off with a clean cloth.
Once grout has fully cured (typically 72 hours), apply a penetrating grout sealer to cement-based grout. Sealer prevents moisture and staining from penetrating the porous grout surface. Reapply periodically as directed. Natural stone tile faces also benefit from a penetrating stone sealer.
A careful, methodical approach to finishing work — like grout sealing — mirrors the prep discipline discussed in interior paint prep: the steps most people skip are precisely what make results last.
When to Call a Professional
DIY tile work is well within reach for most homeowners tackling straightforward bathroom floors, backsplashes, or entryways. However, certain situations call for a licensed professional.
- Structural concerns: If a subfloor feels spongy, has significant rot, or needs sistering of joists, a contractor or structural professional should assess it first.
- Waterproofing in showers: Incorrect waterproofing leads to hidden moisture damage and mold. A licensed tile setter or contractor can ensure the membrane system is installed correctly.
- Heating elements: Installing in-floor radiant heat involves electrical work that requires a licensed electrician in most jurisdictions.
- Permits: Bathroom remodels sometimes require permits. Check with your local building department before beginning work.
If you're approaching a larger renovation or are unsure where to start, starting from scratch with a bare room can help you build a logical sequence for the whole project, not just the tile.
Don't Skip Waterproofing in Wet Areas
Installing tile directly over standard drywall in showers or tub surrounds — even with moisture-resistant drywall — is a leading cause of hidden water damage and mold growth. Always use a cement board backer and an appropriate waterproofing membrane in any area that will be regularly exposed to water. When in doubt, consult a licensed tile professional or contractor.
The content on this site is for informational purposes only and is not a substitute for professional advice. Always consult a qualified professional for guidance specific to your situation.