

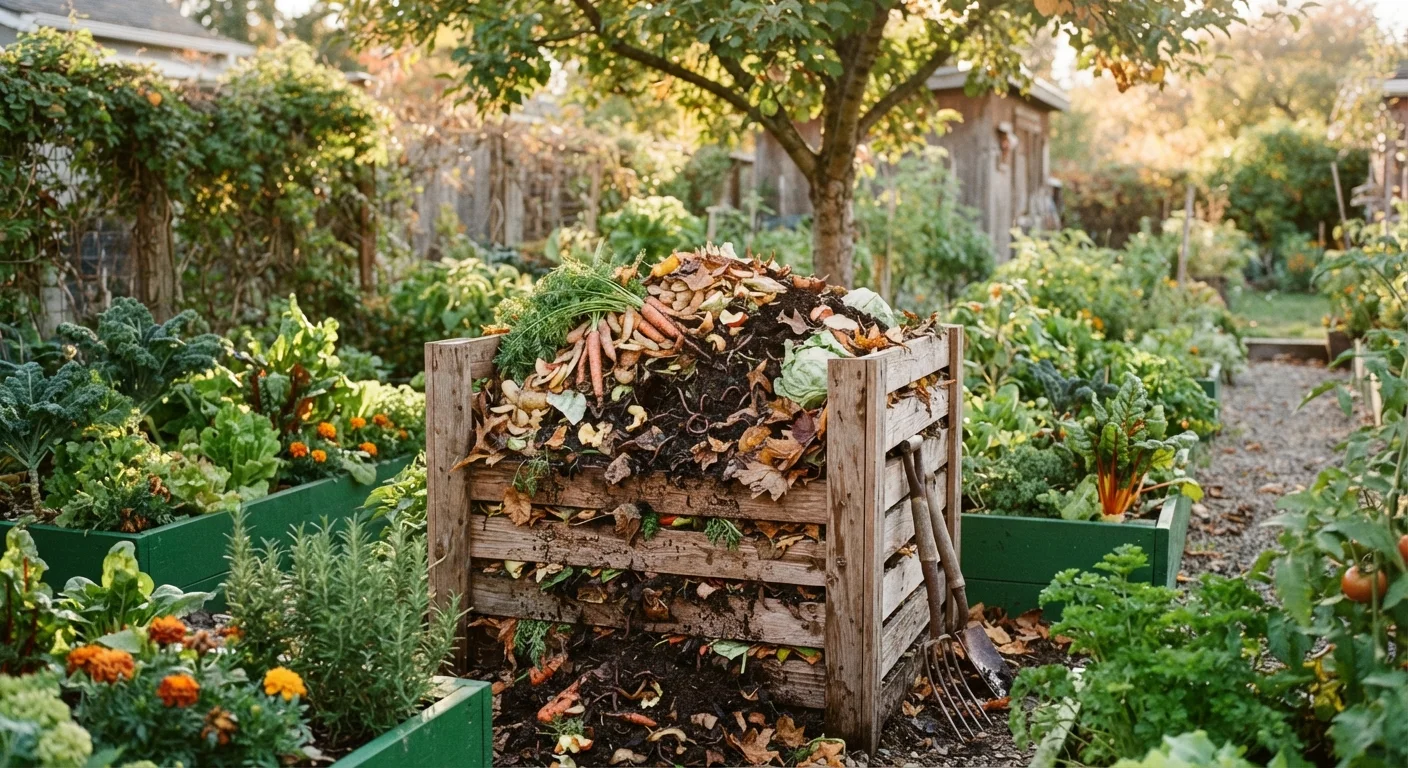
Why composting is worth the effort
Compost does several things that synthetic fertilizers cannot. It improves soil structure — helping sandy soils retain water and loosening dense clay so roots can breathe. It feeds a diverse community of beneficial soil organisms, from bacteria and fungi to earthworms, that support long-term plant health. And it diverts organic waste from landfills, where food scraps produce methane, a potent greenhouse gas, as they break down in the absence of oxygen.
For gardeners, the practical payoff is tangible. Beds amended with compost tend to need less watering, hold nutrients more efficiently, and support stronger root systems. If you're planning to prep your garden beds before planting, finished compost is one of the most versatile amendments you can work in. It also pairs well with understanding what packaged soil products actually contain, so you know exactly what you're adding to your beds.
Compost bin or open pile area
Contains the composting material, retains moisture and heat, and keeps the pile tidy.
Pitchfork or garden fork
Used to turn and aerate the pile so oxygen reaches decomposing material.
Kitchen scrap container with lid
Collects daily food scraps on the countertop before transferring them to the outdoor bin.
Compost thermometer
Measures internal pile temperature to confirm active decomposition is occurring.
Garden hose or watering can
Adds moisture to the pile if it becomes too dry to decompose properly.
Step-by-step: Starting and running your compost pile
Follow these steps to get a functioning compost system going, whether you have a full backyard or just a small patio. If you're new to gardening entirely, our beginner's guide to starting your first garden covers the foundational setup that composting feeds into. Even container gardeners on patios and balconies can benefit from a compact worm bin that produces rich castings for potting mixes.
What you will need
Choose your composting setup
Decide whether you'll use an open pile, a DIY wooden bin, a purchased plastic tumbler, or — for indoor or small-space households — a worm bin (vermicomposting). Open piles work well in larger yards; tumblers speed up decomposition and deter pests; worm bins fit on balconies or in garages. Whichever you choose, site it on level ground with partial shade and easy access to both your kitchen and garden beds.
Understand the 'greens and browns' ratio
Healthy compost depends on balancing carbon-heavy 'browns' (dried leaves, cardboard, straw, paper) with nitrogen-rich 'greens' (vegetable scraps, fruit peels, coffee grounds, fresh grass clippings). A rough target is about 3 parts browns to 1 part greens by volume. Too many greens and the pile turns slimy and smells; too many browns and decomposition stalls. Keep a supply of dried leaves or torn cardboard nearby so you can layer them in whenever you add kitchen scraps.
Add the right materials — and know what to keep out
Safe to compost: vegetable and fruit scraps, eggshells, coffee grounds and paper filters, tea bags (remove staples), plain paper and cardboard, dry leaves, wood chips, and plant trimmings.
Keep out: meat, fish, bones, dairy products, oily or greasy food, pet waste, diseased plants, and anything treated with synthetic chemicals. These items either attract pests, create foul odors, or introduce pathogens that a home pile may not get hot enough to destroy.
Build and layer your pile
Start with a 3–4 inch base layer of coarse material like wood chips or straw to allow airflow from the bottom. Alternate layers of browns and greens, adding a thin sprinkle of finished compost or garden soil between layers to introduce beneficial microorganisms. Aim for a pile at least 3 feet wide and 3 feet tall — that critical mass generates the internal heat needed for efficient breakdown. Smaller piles can still decompose but will take longer.
Maintain moisture and aeration
The pile should feel like a wrung-out sponge — damp but not dripping. In dry weather, water it lightly. In very wet weather, cover it or add more browns to absorb excess moisture. Turn the pile every one to two weeks using a pitchfork, pulling material from the outer edges toward the center. This introduces oxygen, which fuels the microbes responsible for decomposition and prevents anaerobic conditions that cause odors.
Recognize when compost is finished
Finished compost is dark brown, crumbly, and smells earthy — like forest floor. You should no longer be able to identify the original ingredients. The pile will have shrunk to roughly half its original volume. This process typically takes two to six months depending on pile size, turning frequency, climate, and material mix. Use finished compost by mixing it into garden beds, top-dressing lawns, or blending it into potting mixes.
Start Small and Build the Habit
You don't need a perfect system on day one. Even a simple pile in a corner of the yard, or a countertop scrap bin that you empty weekly, builds the habit that makes composting stick. Once you see dark, crumbly compost forming — usually within a few months — the process becomes self-reinforcing. Start with what you have and refine from there.
Troubleshooting common composting problems
Even a well-built pile can run into issues. Here's how to diagnose and fix the most common ones:
- Pile smells bad: Usually means too many greens or too much moisture. Add browns and turn the pile to introduce air.
- Nothing seems to be breaking down: The pile may be too dry, too small, or too heavy on browns. Add water, greens, and turn it to mix materials thoroughly.
- Pests are getting in: Avoid adding any cooked food, meat, or dairy. A lidded bin or hardware cloth lining can deter rodents.
- Pile is steaming: That's a good sign — it means decomposition is active and the pile is heating up. Keep turning it to maintain airflow.
Don't Rush Unfinished Compost into Garden Beds
Applying compost that hasn't fully matured can temporarily rob soil of nitrogen as microbes continue breaking down raw material — a process called nitrogen drawdown. Partially broken-down material can also introduce weed seeds or plant pathogens. Always wait until the compost is fully dark, crumbly, and unrecognizable before adding it to planting areas.
Once you have a reliable supply of finished compost, you'll find yourself thinking ahead in your garden planning. Our gardening calendar can help you time compost applications season by season for best results.
The content on this site is for informational purposes only and is not a substitute for professional advice. Always consult a qualified professional for guidance specific to your situation.